OpenGL programs are usually written in C although there have been wrappers written to encapsulate OpenGL functionality in Java and C#. In any case, to write OpenGL programs we must be able to interact with the underlying graphics system. In particular, displaying output requires manipulation of the operating system's window manager. To greatly simplify this process, we will be using FreeGLUT (an open source version of the original GLUT - OpenGL Utility Toolkit - library with a few minor differences) which is available for both Linux and Windows platforms (installation instructions). Through some simple initialization, this package will take care of all the window management as well as provide for basic user interaction via handling keyboard and mouse events (and even joysticks). GLUT is an event driven API, meaning that we will be defining callback functions that will be executed in response to various system generated events, e.g. if the window needs redrawn, a mouse button has been clicked, etc. At this point we will not be concerned with what the program is doing, but rather just making sure we can get the basic GLUT framework set up.
0. Getting Started
Create a directory on your H: drive named CS370 (or anywhere else you choose). Navigate into this new directory and create a subdirectory named labs.
Download CS370_Lab01.zip, saving it into the labs directory.
Double-click on CS370_Lab01.zip and extract the contents of the archive into a subdirectory called CS370_Lab01
Navigate into the CS370_Lab01 directory and double-click on CS370_Lab01.sln (the file with the little Visual Studio icon with the 12 on it).
If the source file is not already open in the main window, open the source file by expanding the Source Files item in the Solution Explorer window and double-clicking helloOpenGL.cpp.
1. Include GLUT header files
At the top of the source file you should see the following lines:
#ifdef OSX
    #include <GLUT/glut.h>
#else
    #include <gl/glut.h>
#endif

void display();
void render_Scene();
which includes the appropriate header files for GLUT depending on OS, and defines two function prototypes for the display() callback and render_scene() function (which will be discussed in section 3).
2. Initialize GLUT in main()
In order to have GLUT handle the window management tasks, typically main() will contain the following sections:
- initialize the library
- set the various window properties
- create the window
- register any needed callbacks
- begin the (infinite) event loop
Add the following code to the source file:
int main(int argc, char *argv[])
{
    // Initialize GLUT
    glutInit(&argc,argv);

    // Initialize the window with double buffering and RGB colors
    glutInitDisplayMode(GLUT_DOUBLE | GLUT_RGB);

    // Set the window size to 500x500 pixels
    glutInitWindowSize(500,500);

    // Create window
    glutCreateWindow("Hello OpenGL!");

    // Define callbacks
    glutDisplayFunc(display);

    // Begin event loop
    glutMainLoop();

    return 0;
}
This structure for main() will serve as a template for all the programs we will write in this course through modifying the window properties and registering additional callbacks.
3. Draw in display()
The display callback is executed every time the window needs to be redrawn (similar to the paint method in C#), including when the program first starts. Later we will see how to use this routine to perform animations and interactive scenes. We will begin by simply drawing a red square by clearing the screen, draw the scene (simply a red square), flushing the buffer, and swapping the buffer to display it on the screen (via double buffering). Don't worry about understanding the code at this point as we will be covering all these commands in more detail in subsequent classes.
Add the following code to the source file:
// Display callback
void display()
{
    // Reset background
    glClear(GL_COLOR_BUFFER_BIT);

    // Render scene
    render_Scene();

    // Flush buffer
    glFlush();

    // Swap buffers
    glutSwapBuffers();
}

// Scene render function
void render_Scene()
{
    // Set current color to red
    glColor3f(1.0,0.0,0.0);

    // Draw square
    glBegin(GL_POLYGON);
        glVertex2f(-0.5,-0.5);
        glVertex2f(-0.5,0.5);
        glVertex2f(0.5,0.5);
        glVertex2f(0.5,-0.5);
    glEnd();
}
For the most part, any drawing should be done in the render_Scene() function (or other helper functions called from within render_Scene()).
4. Compiling and running the program
Once you have completed typing in the code, you can build and run the program in one of two ways:
- Click the small green arrow in the middle of the top toolbar
- Hit F5 (or Ctrl-F5)
(On Linux/OSX: In a terminal window, navigate to the directory containing the source file and simply type make. To run the program type ./helloOpenGL.exe)
At this point you should see a window with the title Hello OpenGL! that has a red square in it similar to below.
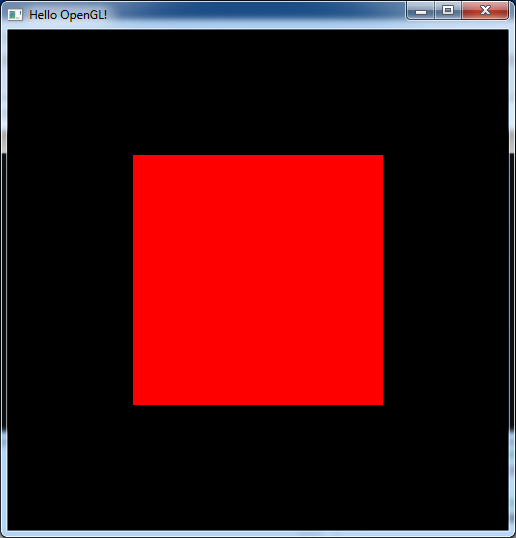
To quit the program simply close the window.
Congratulations, you have just written your first OpenGL program! Now the fun begins.
