Since the human visual system can only discriminate depth to about 200 yards, objects beyond that distance appear flat. Thus many times in graphics applications we would like to be able to use an image as the background for the window, e.g. a distant outdoor scene, which is known as billboarding. Unfortunately OpenGL (and even GLUT) does not provide any mechanism for loading images (which is also a problem for using textures). Thus we will use a third party library known as SOIL (Simple OpenGL Image Library) to load images from files (see Resources for installation instructions). OpenGL can then simply draw the pixels of the image directly into the framebuffer.
0. Getting Started
Download CS370_Lab18.zip, saving it into the labs directory.
Double-click on CS370_Lab18.zip and extract the contents of the archive into a subdirectory called CS370_Lab18
Navigate into the CS370_Lab18 directory and double-click on CS370_Lab18.sln (the file with the little Visual Studio icon with the 12 on it).
If the source file is not already open in the main window, open the source file by expanding the Source Files item in the Solution Explorer window and double-clicking FujiSan.cpp.
1. Loading Images
In order to import an image using SOIL, which will be stored in an array of unsigned char, we can use the command:
image = SOIL_load_image(filename, &width, &height, &channels, force_channels);
where image is a pointer to an array of unsigned char, filename is a string containing the name of the image file, width and height are int's that are returned by the function containing the respective sizes of the image, channels is an int that is returned by the function that contains the number of color channels for the image, and force_channels is a flag telling SOIL the color type of the image being loaded (usually set to SOIL_LOAD_AUTO).
Tasks
- Add a global variable called img of type unsigned char*.
- Add global variables width, height, and channels of type GLint and set the initial values of width and height to 500.
- Add code to load_image( ) to load the image Mt-Fuji.jpg using SOIL_LOAD_AUTO.
- Add code to main( ) to call load_image( ) prior to glutInitWindowSize( ). Change the arguments in glutInitWindowSize( ) to width and height - thus making the display window the same size as the background image.
2. Drawing Images
Once the image is loaded, we can draw it on the framebuffer using:
glDrawPixels(width,height,format,type,*image);
where width and height are the size of the image, format is the color format of the image pixels (usually GL_RGB), type is the data type (usually GL_UNSIGNED_BYTE), and image is a pointer to the image array. NOTE: The load function will properly store the data for rendering.
Two important things that need to be considered when rendering an image are blending and hidden surface removal. Since we typically do not want transparency when rendering the background image, we need to disable blending (via glDisable(GL_BLEND); and glEnable(GL_BLEND); around the background drawing code. Also since we usually want our image to be a background, we need to make the depth buffer read-only (similarly to transparency using glDepthMask(GL_FALSE); and glDepthMask(GL_TRUE); around the background drawing code), otherwise the image will set a depth z=0 for all the pixels thereby clipping any objects with negative z values.
Most of the time we will want to draw the background before we render any objects. Therefore we need to set a 2D orthographic projection using gluOrtho2D( ) and an identity modelview matrix for the background and then reset whatever 3D projection mode we are using (similar to when we wished to switch projection modes). One other major issue with many drawing formats (including .bmp and .jpg) is that the pixels are stored from top to bottom yet OpenGL renders them from bottom to top (remember OpenGL world-coordinates). Hence many images will be upside-down when displayed directly from the file. A simple option to correct this is to use an image utility program (such as Paint or Gimp) to create a new vertically mirrored version of the image. A better way is to do it programmatically with the function:
glPixelZoom(sx,sy);
where sx and sy are scale factors (similar to scaling transformations). By setting sx=1 and sy=-1, the image will be inverted in the vertical direction. Unfortunately as with normal vertex scaling, the problem with this technique is that the image will then be displayed below the screen (at negative y values). Hence we need to adjust where the image is displayed using the raster position (similar to fonts).
Finally, since typically it would be nice to scale the extents of the window to match the background image size, we can load the image before creating the window (in main( )) and then use the width and height returned by SOIL to create the window (unfortunately if the user drags a corner to resize the window, it will take additional code in the resize callback to keep the image filling the background).
Tasks
- Add code to draw_background( ) to set a 2D orthographic projection matrix with extents (0.0,1.0,0.0,1.0), i.e. with the origin in the lower right-hand corner.
- Add code to draw_background( ) to set the modelview matrix to the identity.
- Add code to draw_background( ) to draw the image passed via the image parameter. Remember to set the raster position (using glRasterPos2f( )) to (0.0,1.0) and invert the image using glPixelZoom( ).
- Add code to draw_background( ) to reset the pixel zoom after you have drawn the image back to (1.0,1.0).
- Add code to draw_background( ) to disable/enable blending, and make the depth buffer readonly around the background image drawing code.
- Add code to display( ) to draw the image using the draw_background() function.
- Add code to display( ) after drawing the image to set the proper 3D projection and modelview matrices for rendering the 3D scene. Note: Simply move the code from the reshape( ) callback into the display( ) callback.
Compiling and running the program
Once you have completed typing in the code, you can build and run the program in one of two ways:
- Click the small green arrow in the middle of the top toolbar
- Hit F5 (or Ctrl-F5)
(On Linux/OSX: In a terminal window, navigate to the directory containing the source file and simply type make. To run the program type ./FujiSan.exe)
The output should look similar to below
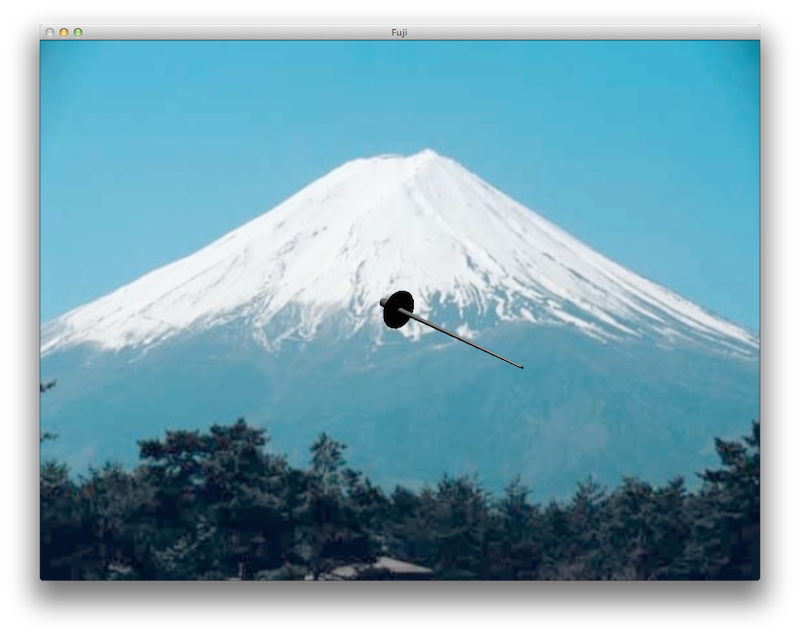
To quit the program simply close the window.
Now that we can load images, the next effect that will greatly enhance our scenes is to apply these images to objects using what in known as texture mapping. Essentially we will attach the image onto the geometry by associating points in the image with vertices on the object.
