While texture mapping is a nice way of simulating surface textures without additional geometry, we can further embellish the appearance by blending multiple textures together on the same surface using multi-texturing. In this lab we will see how to use multiple texture units to sample multiple textures in the fragment shader.
Getting Started
Navigate into the CS370\labs directory on your H: drive.
Download CS370_Lab17.zip, saving it into the labs directory.
Double-click on CS370_Lab17.zip and extract the contents of the archive into a subdirectory called CS370_Lab17
Open CLion, select Open or Import from the main screen (you may need to close any open projects), and navigate to the CS370_Lab17 directory. This should open the project and execute the CMake script to configure the toolchain.
Texture Map references
Since we are using several textures, we will need to have several sampler shader variables. We do by declaring multiple uniform sampler2D variables in the fragment shader. Then we will associate these sampler variables with a application reference identifiers using
GLint glGetUniformLocation(GLuint program, const GLchar *name);
where program is the shader program and *name is a string with the name of the shader sampler variable.
Tasks
- Add code to main() to store references into tex_base_loc and tex_dirt_loc from the baseMap and dirtMap shader variables in tex_program
Note: baseMap and dirtMap are the sampler variables defined in multiTex.frag.
Multiple Texture Units
In order to use multiple textures, we will need to utilize multiple texture units by defining which texture unit to associate with which shader sampler, and then bind the textures we wish to use to each unit. OpenGL supports a minimum of 16 texture units per pipeline stage which are referred to using the constants GL_TEXTURE# where # is the number of the texture unit, e.g. GL_TEXTURE0. Thus we will specify which texture unit to associate with a shader sampler using
void glUniform1i(GLint location, GLint value);
where location is the reference for the shader sampler and value is the unit number we wish to associate with the sampler. Then we will make the texture unit active using
void glActiveTexture(GLenum texture);
where texture is a symbolic constant of the form GL_TEXTUREi where i is the number of the texture unit we wish to make active, e.g. GL_TEXTURE0.
Finally, we will bind the desired texture to the unit as usual using
void glBindTexture(GLenum target, GLuint texture);
where target is a symbolic constant denoting the type of texture we are binding (e.g. for image data GL_TEXTURE_2D) and texture is the texture id for the texture we are binding to the currently active texture unit.
Tasks
-
Add code to render_scene() to set the tex_base_loc to 0, i.e. we will bind the base texture to texture unit 0
-
Add code to render_scene() to make texture unit 0 active using GL_TEXTURE0
-
Add code to render_scene() to bind the Carpet texture id to texture unit 0
-
Add code to render_scene() to set the tex_dirt_loc to 1, i.e. we will bind the dirt texture to texture unit 1
-
Add code to render_scene() to make texture unit 1 active using GL_TEXTURE0
-
Add code to render_scene() to bind the Dirt texture id to texture unit 1 if the dirty flag is true or the Blank texture id otherwise
Note: Since our shader will be combining colors from both textures, it is important that they each be associated with a texture unit containing an appropriate texture
Multiple Texture Coordinates
For this lab we will simply be using the same texture coordinates for both texture maps. However, if the model/loader supported multiple texture coordinates, we could store them in separate texture coordinate buffers and pass them through the vertex shader to the fragment shader.
Combining Texture Colors
The last step to applying multiple textures is sampling both textures in the fragment shader and deciding how to combine the two colors together for the final fragment color.
Several options can include simple addition of the two colors, simple multiplication of the two colors, using the mix() function to perform a linear interpolation (possibly based on an application variable), or some other combination of the two.
Tasks
-
Add code to render_scene() to set the tex_mix_loc to mix. Note: Use glUniform1f().
-
Add code to multiTex.frag to sample dirtMap at texCoord and store the result in dirtColor
vec4 dirtColor = texture(dirtMap, texCoord);
- Add code to multiTex.frag to mix the two texture colors using mix() with the mixFactor
fragColor = mix(baseColor,dirtColor,mixFactor);
Note: Try other ways of combining the two texture colors to see what effect it produces.
Compiling and running the program
You should be able to build and run the program by clicking the small green arrow towards the right of the top toolbar.
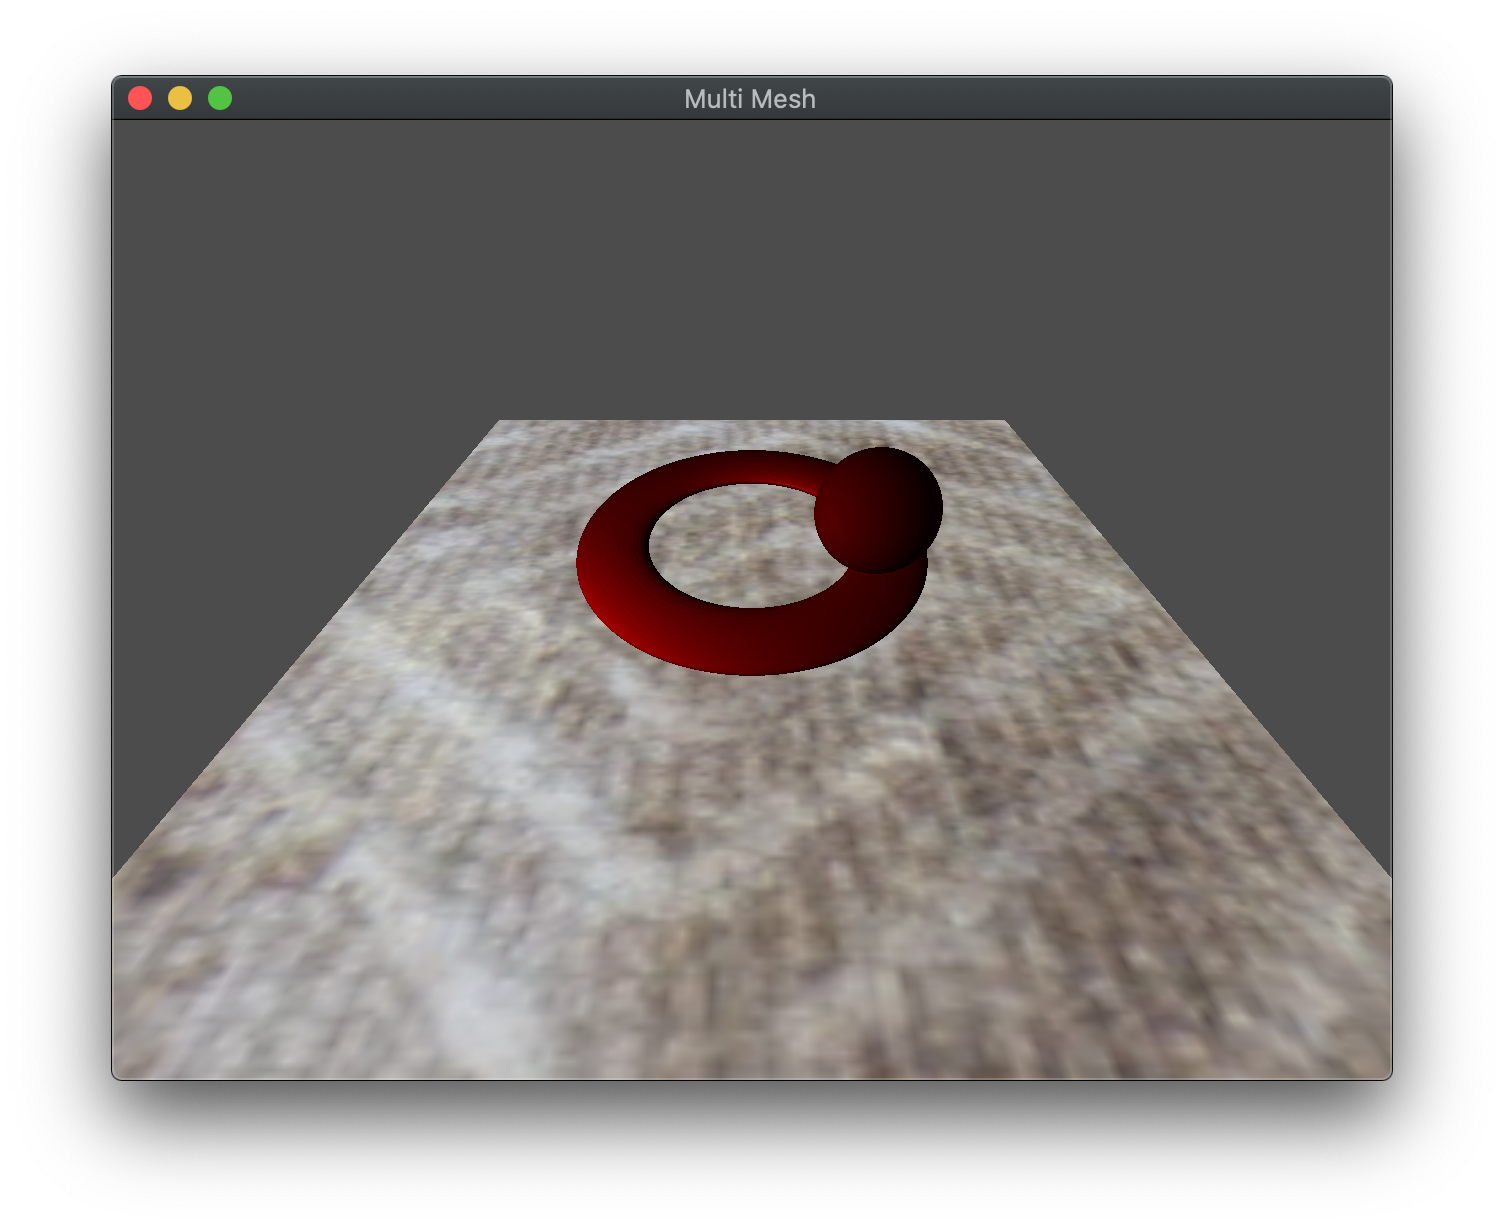
At this point you should see a torus and revolving sphere over a carpet that is mixed with either a blank or “dirt” texture (toggled using spacebar). Arrow up/down will control the amount of the second texture that is mixed.
To quit the program simply close the window.
Congratulations, you have now written an application incorporating multiple textures.
Next we will investigate how to apply multiple textures to accomplish bump mapping.
