While it is convenient to use mesh files provided by external sources, we may want to make our own .obj files for objects to either create unique shapes, or to adjust size, orientation, and origin locations for basic geometric meshes. In this lab, we will see how to create a basic mesh shape in Blender and export it to an .obj file that our basic model loader can load into our application.
Getting Started
Download CS370_Lab12.zip, saving it into the CS370-Fall2022 directory.
Double-click on CS370_Lab12.zip and extract the contents of the archive into a subdirectory called CS370_Lab12
Open CLion, select CS370-Fall2022 from the main screen (you may need to close any open projects), and open the CMakeLists.txt file in this directory (not the one in the CS370_Lab12 subdirectory). Uncomment the line
add_subdirectory("CS370_Lab12" "CS370_Lab12/bin")
Finally, select Reload changes which should build the project and add it to the dropdown menu at the top of the IDE window.
Solution
Download CS370_Lab12_Solution.zip, saving it into the CS370-Fall2022 directory.
Double-click on CS370_Lab12_Solution.zip and extract the contents of the archive into a subdirectory called CS370_Lab12_Solution
Open CLion, select CS370-Fall2022 from the main screen (you may need to close any open projects), and open the CMakeLists.txt file in this directory (not the one in the CS370_Lab12_Solution subdirectory). Uncomment the line
add_subdirectory("CS370_Lab12_Solution" "CS370_Lab12_Solution/bin")
Finally, select Reload changes which should build the project and add it to the dropdown menu at the top of the IDE window.
For this lab you will also need to install Blender.
Adding a Mesh
When Blender is first opened, there is a default cube centered at the origin.
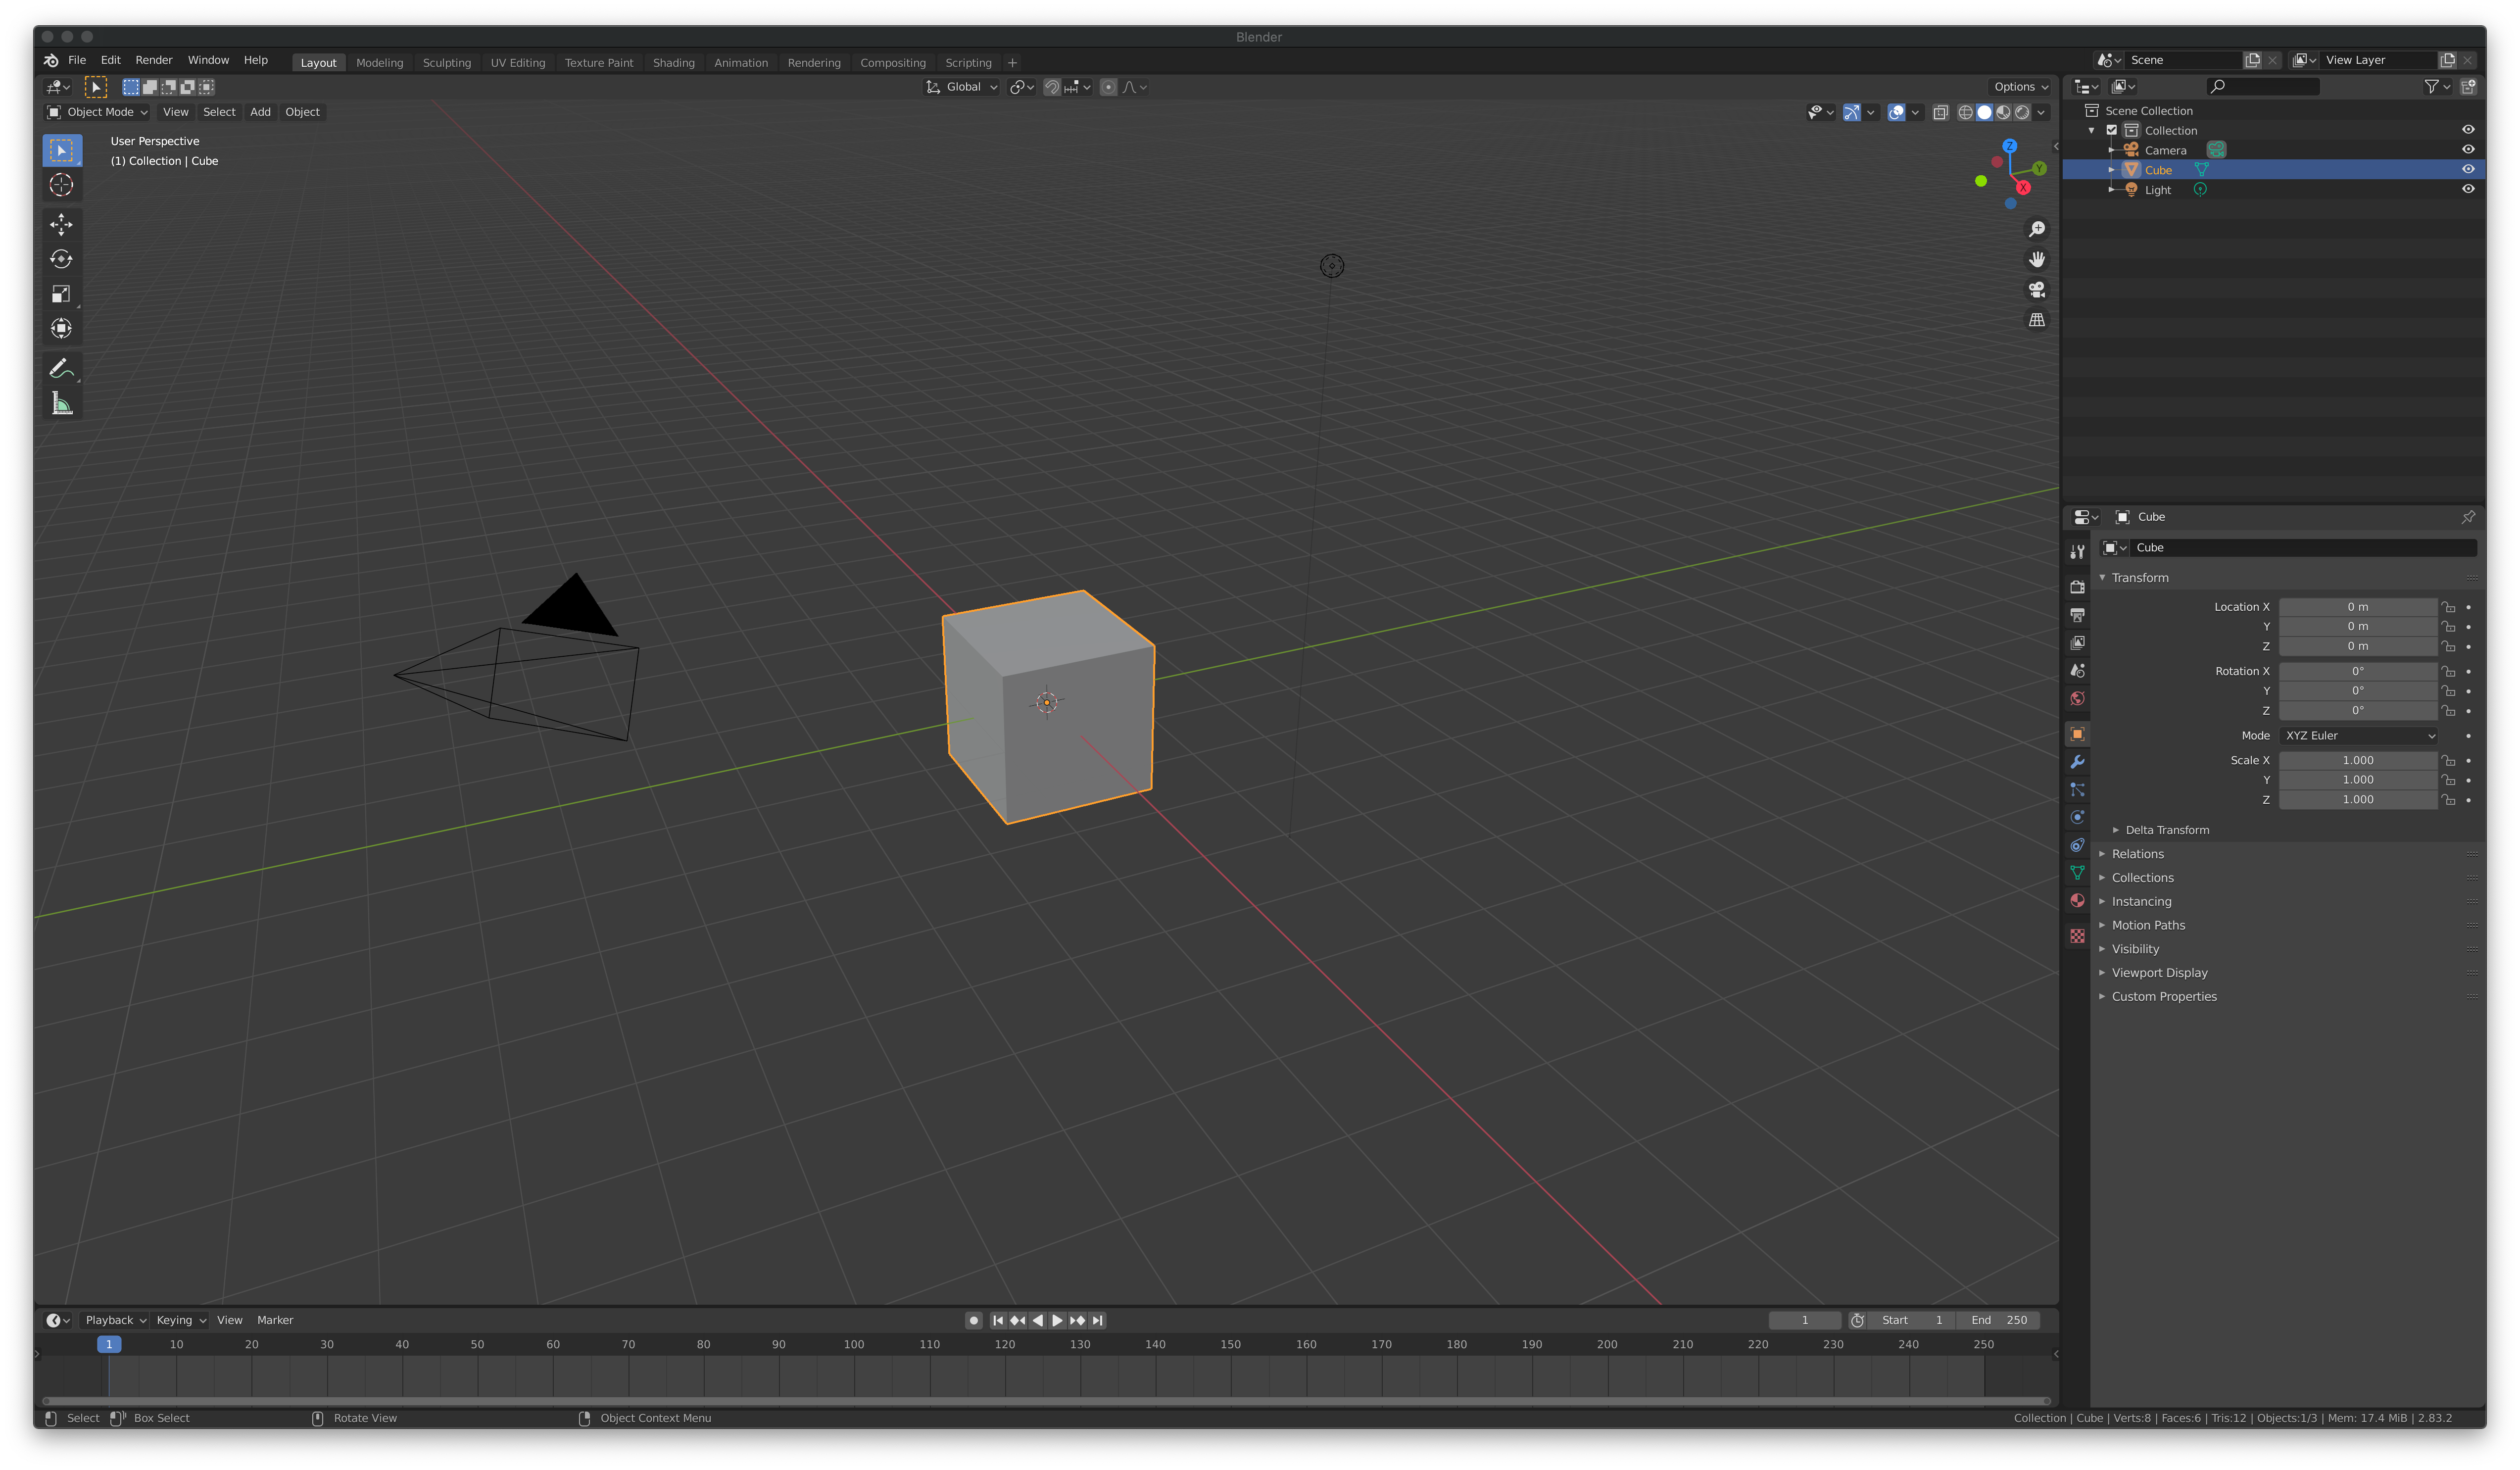
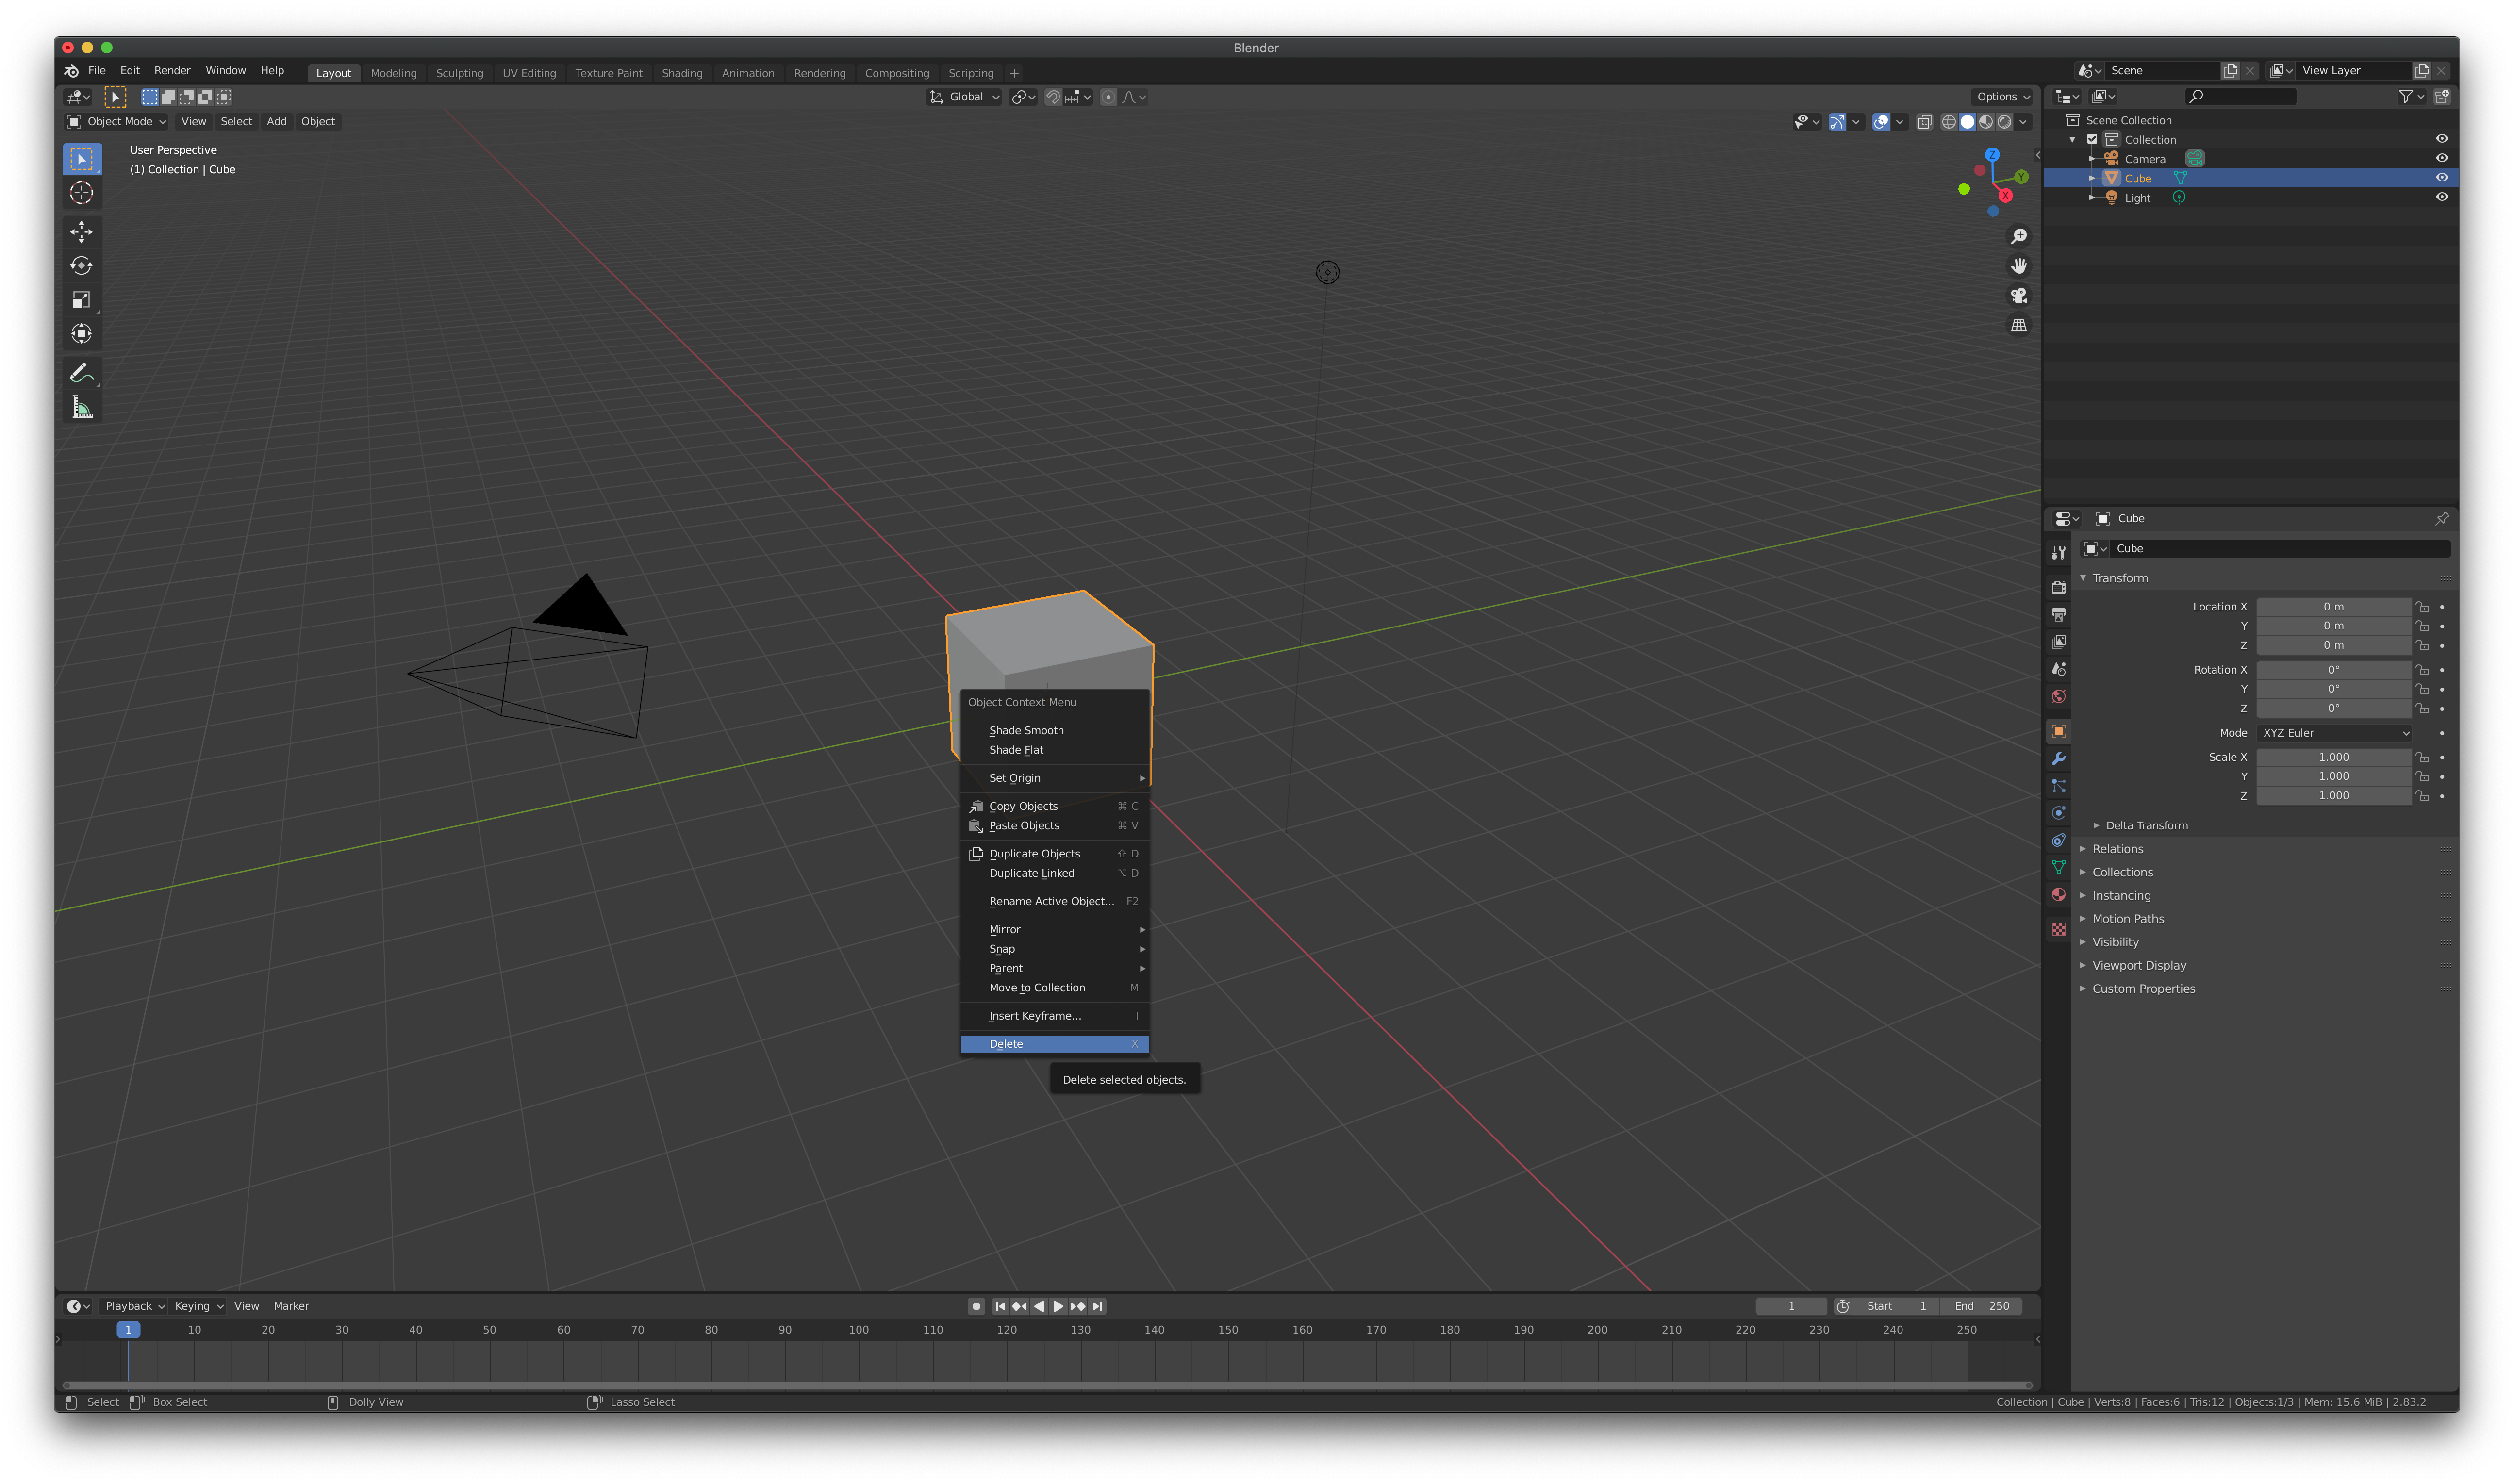
To delete this stock object, simply right-click and select Delete.
Then to add a new mesh (at the origin) simply hit <Shift>-A which should pop up the add dialog and select Mesh which should pop out a list of mesh objects that are built in to Blender.
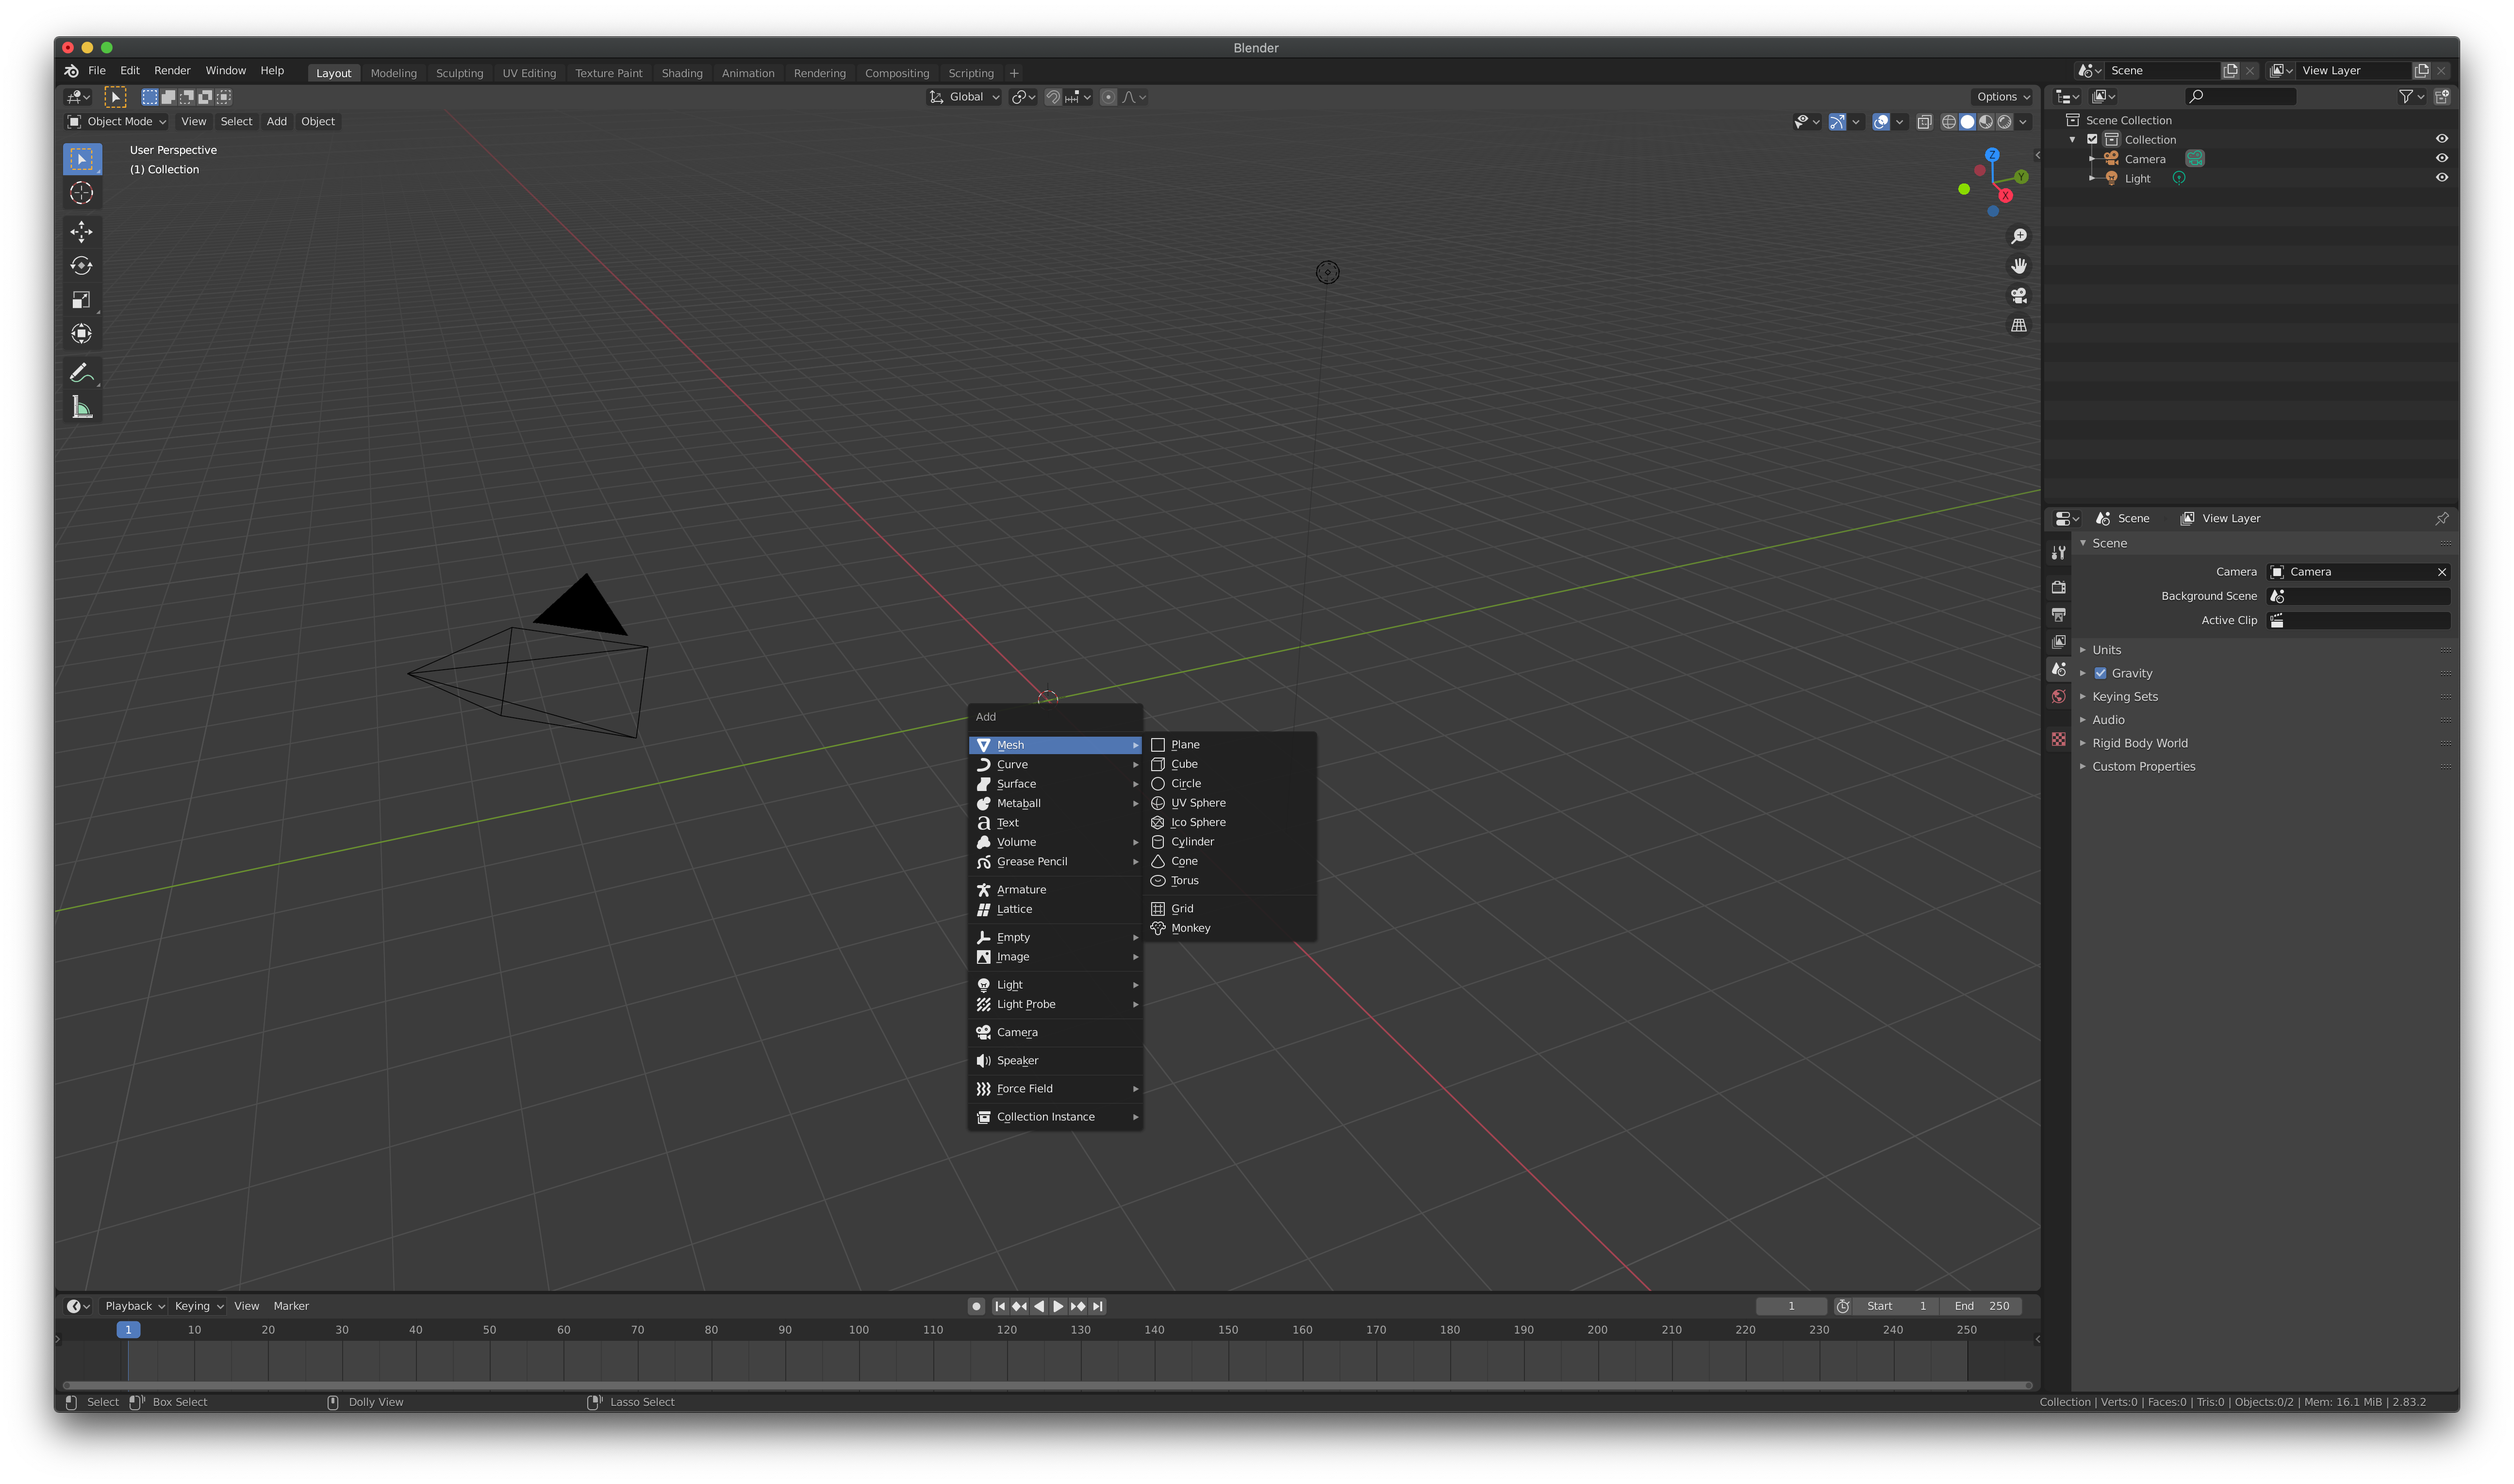
After the mesh has been added, there may be a dialog box in the lower left portion of the main window that will allow configuration of the added mesh typically including the default size, location, and orientation.
Some additional meshes can be obtained by selecting the drop down menu in the lower right window, choosing Data->Preferences->Add-ons->Add Mesh: Extra Objects.
Multiple Meshes
You can also combine several meshes together, which is necessary for our model loader to work properly, by
-
Add all the desired meshes and move them into their proper places/sizes/orientations
-
Select all the meshes using Shift-(left click)
-
After all the meshes are selected, hit CTRL-J to combine the meshes into a single one that can be exported
Tasks
-
Open up Blender and delete the default cube
-
Add the Monkey mesh
-
In the configuration dialog, change the size to 3 m.
-
In the configuration dialog, rotate about the x-axis by 90 degrees (since the default orientation is with the z-axis being up).
Exporting a Mesh
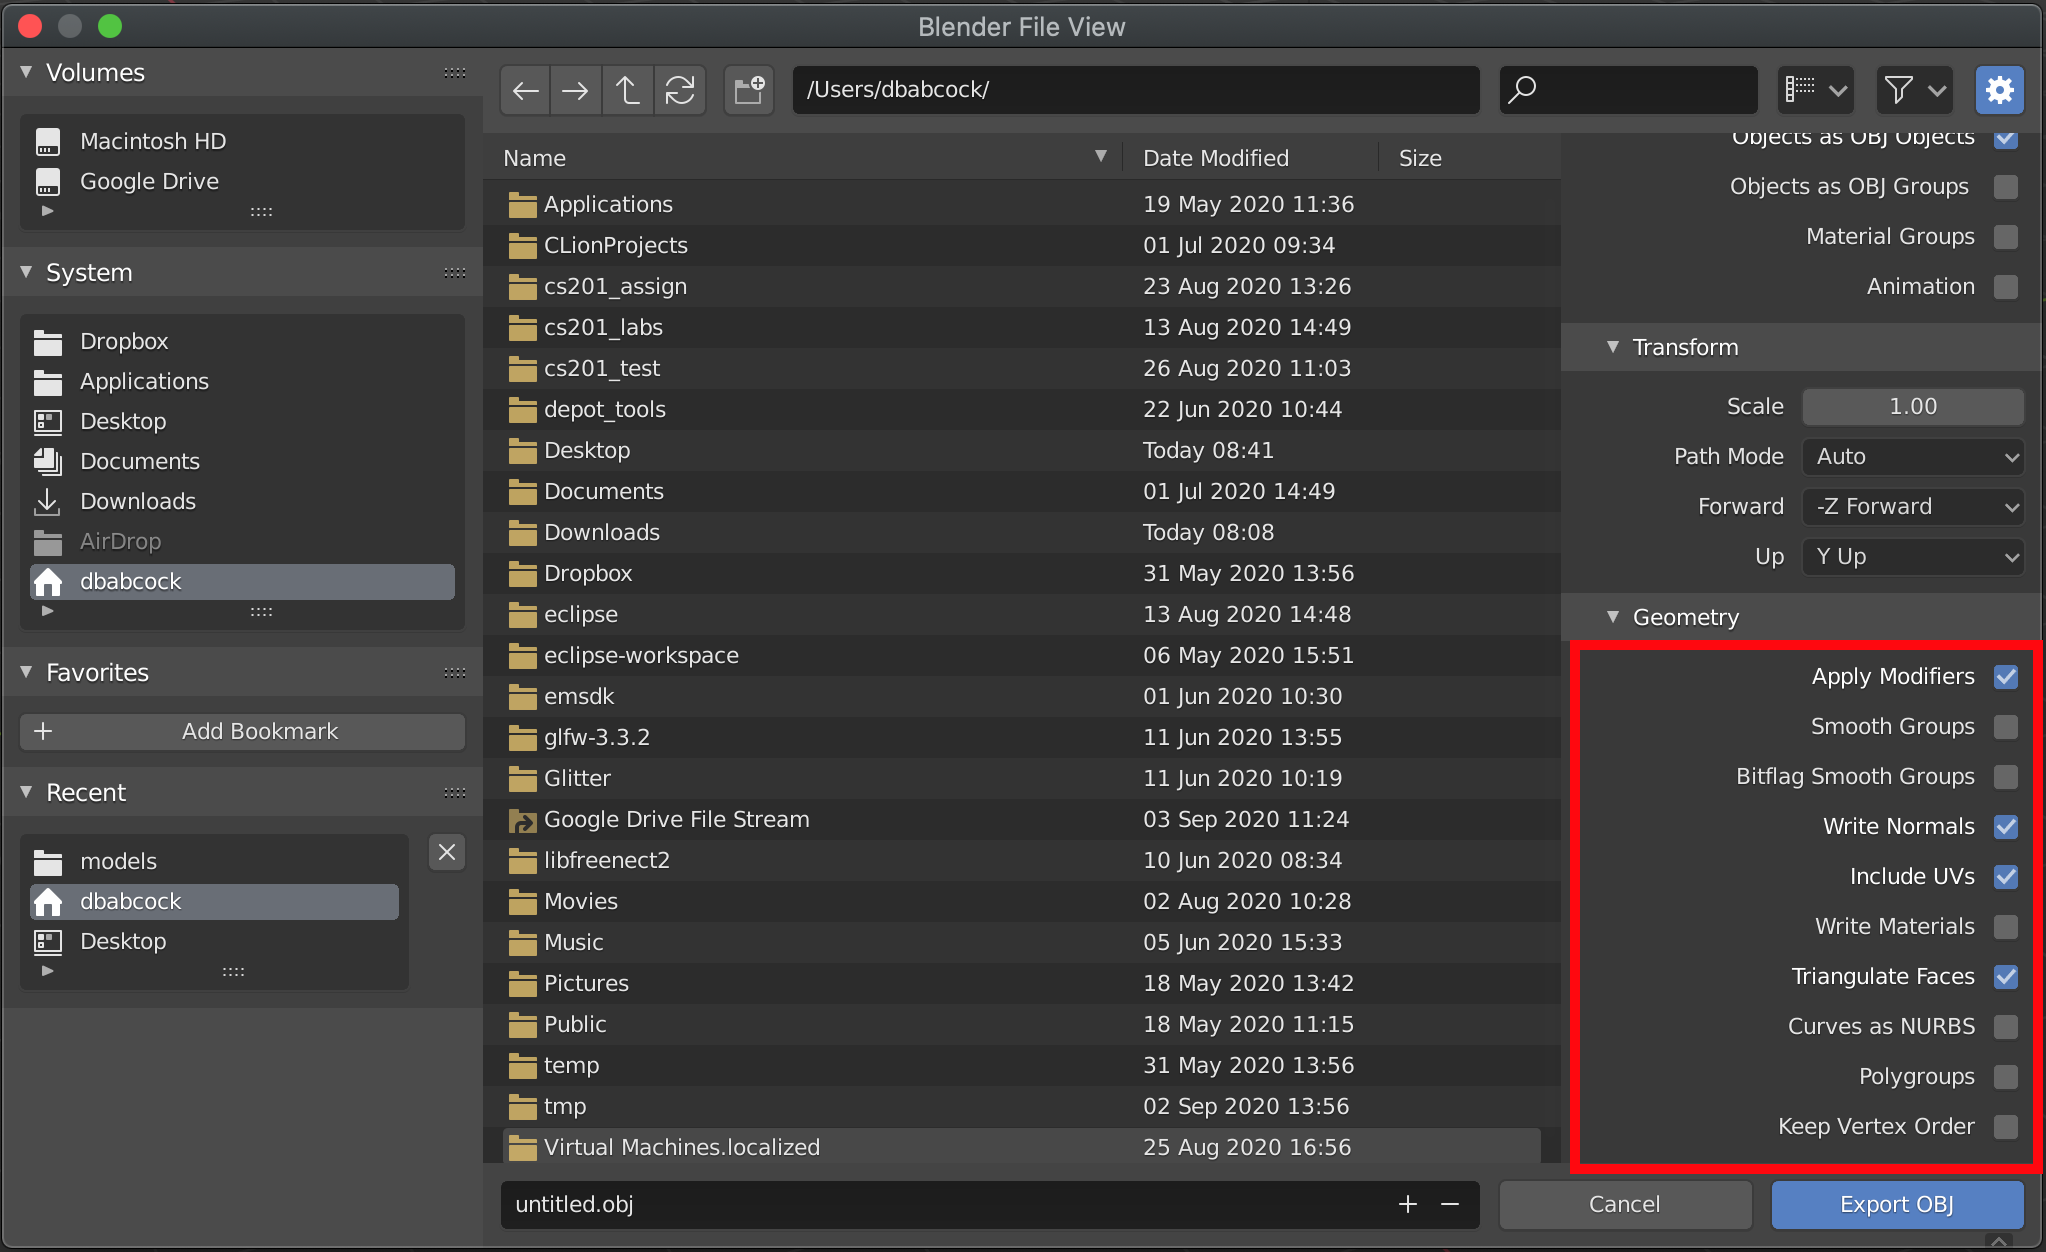
To export the mesh, from the menu bar select File->Export->Wavefront (.obj)
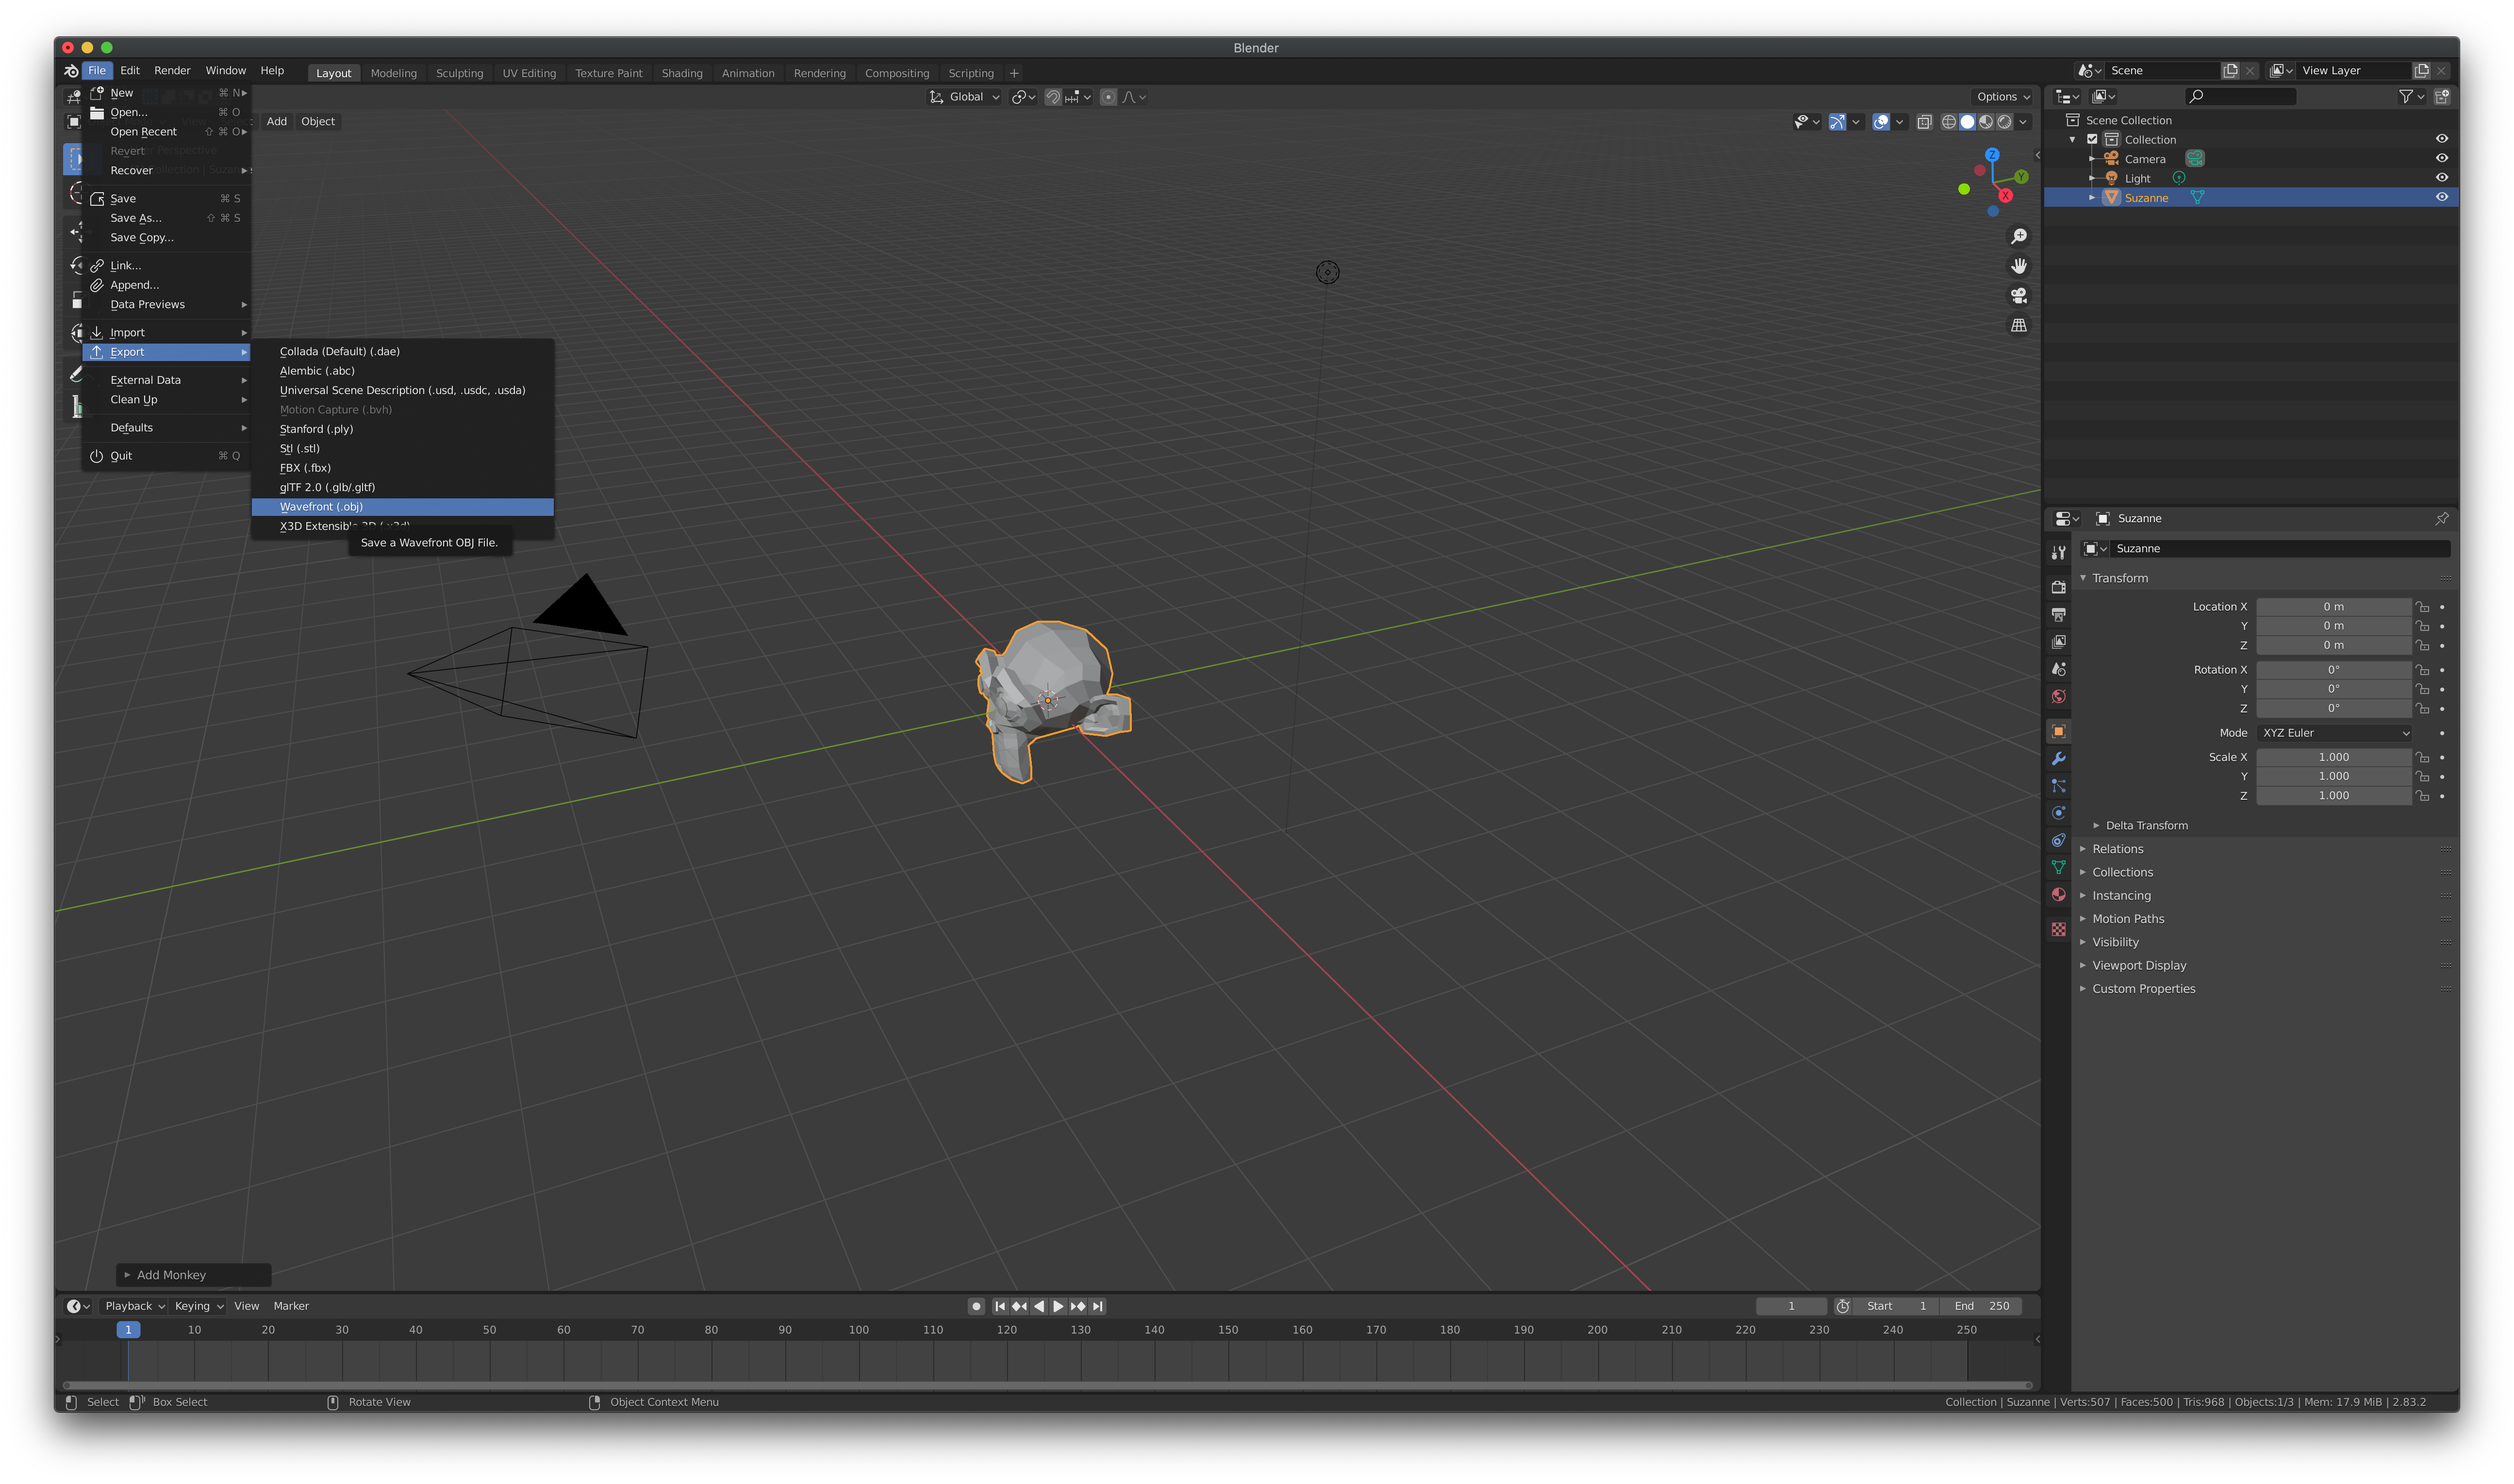
Select the location where you want to export the file and the name for the file. In the lower right panel, expand the Geometry tab and make sure the selections match the figure below, i.e. only Apply Modifiers, Write Normals, Include UVs, and Triangulate Faces are checked. This will produce a file that can be imported by the basic model loader we are using.
Tasks
-
Export the mesh to the models directory in CS370_Lab12 naming the file monkey.obj
-
Add code to build_geometry() to import the monkey model using the Monkey constant.
-
Add code to render_scene() to draw the monkey model using draw_mat_object() using the Monkey and RedPlastic constants which should render it in the application.
This lab is only to create simple geometry meshes in Blender that can be loaded into our OpenGL applications using our simple model loader. For more information about using all the features of Blender to create more sophisticated models, one place to start is the Blender tutorials.
Compiling and running the program
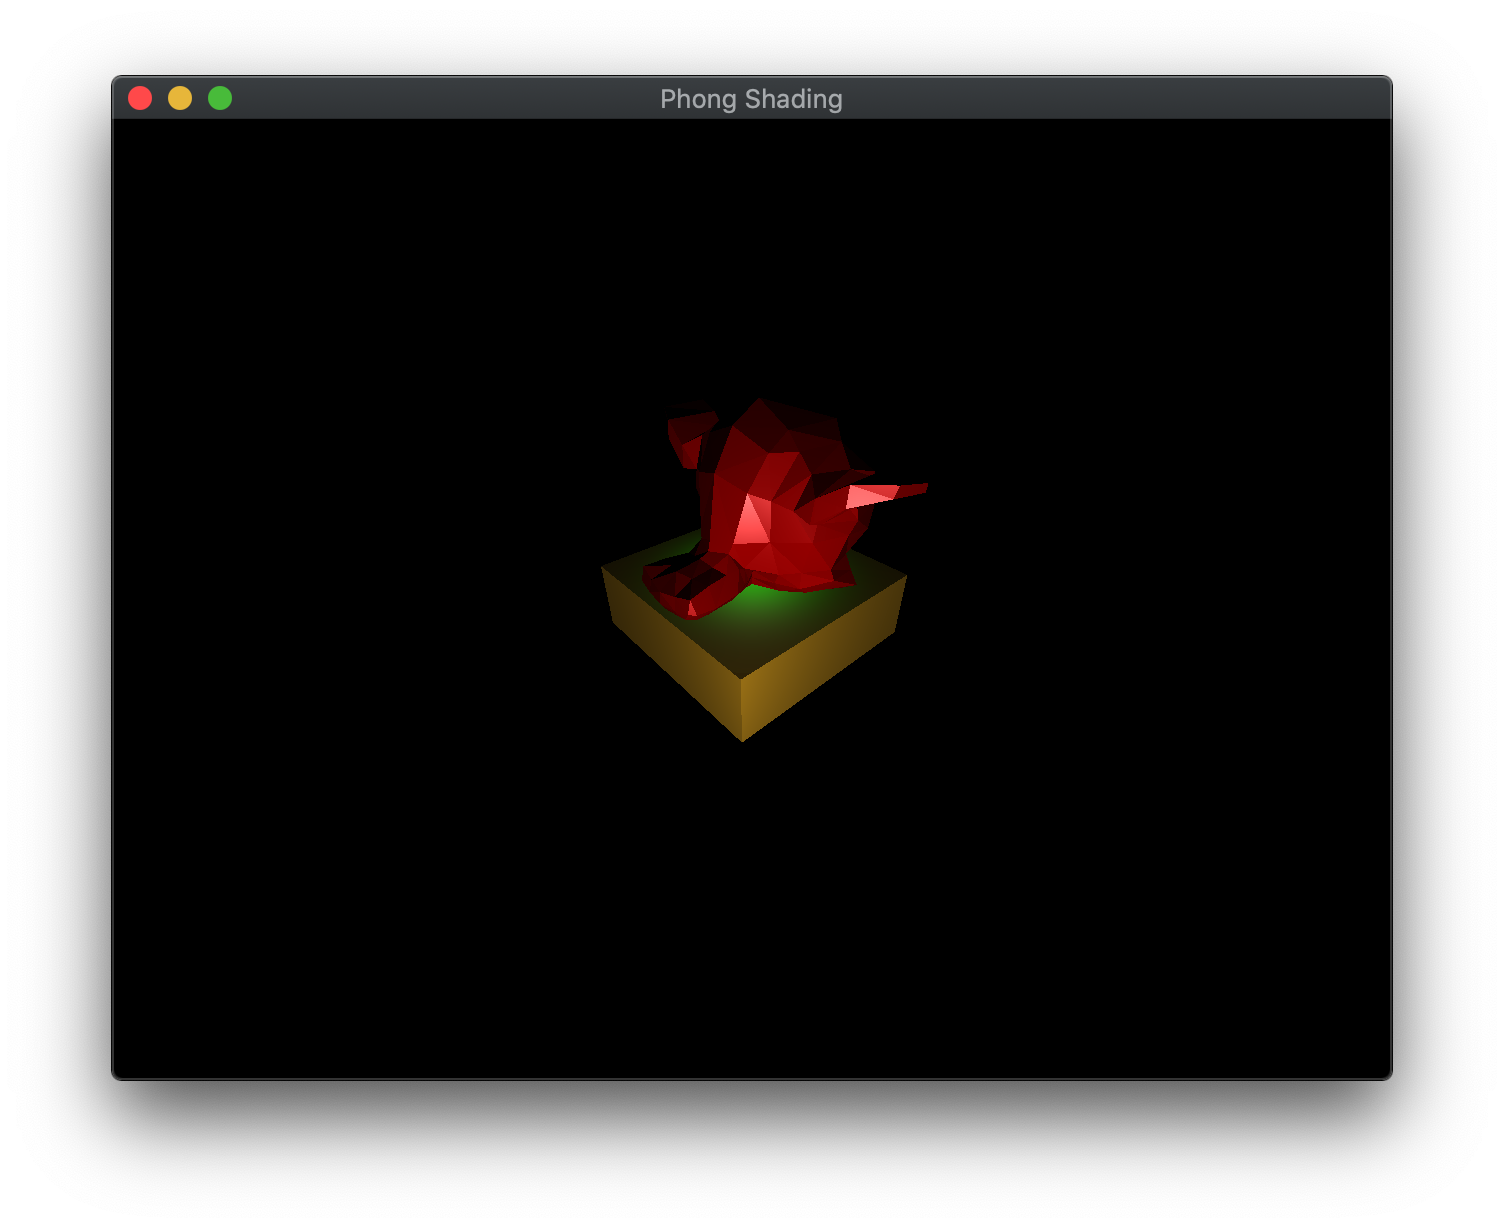
You should be able to build and run the program by selecting blenderMonkey from the dropdown menu and clicking the small green arrow towards the right of the top toolbar.
At this point you should see a cube and Blender monkey with lighting.
To quit the program simply close the window.
Congratulations, you have now created a simple model in a modeling program and imported it into an application.
Next we will greatly enhance the visual appearance of our objects using texture mapping.
