Last lab we finished the basic transformations in 2D (which extend directly to 3D). At this point, however, we can only create static scenes. A more useful system would allow for the user to interact with the graphics (through the keyboard and/or mouse) to modify the scene. Also the capability to dynamically change the scene without user interaction, i.e. animation, would further enhance the appearance of our programs. Together these two features give us the ability to write simple games that we will later be able to render in 3D with more sophisticated effects.
Both user interaction and animation utilize the event driven nature of the operating system. Fortunately, GLFW has taken care of wrapping this functionality into callback routines that are relatively easy to implement, for more information see the GLFW input guide. However, if more complicated user input behavior is needed, one would need to resort to using the various OS commands for handling keyboard and mouse event messages (beyond the scope of this course). One of the advantages of DirectX is that Microsoft directly provides this functionality at the expense of cross platform compatibility, particularly when using C#.
Unfortunately, since we cannot have return values, nor can we add additional reference parameters to the callback prototypes, we must use global variables to store state values for the objects we wish to update in these routines. Then after processing the input event and updating the appropriate states, the next iteration of the graphics loop will render the scene with these updated values. We can implement these states efficiently by using instance objects with corresponding global transformation matrices (refer to lab03 and then simply update these transformations in the callback routines. Furthermore, if we also update a state with each iteration of the graphics loop (usually in a time dependent fashion) we can produce animations.
Getting Started
Download CS370_Lab04.zip, saving it into the CS370_Fa24 directory.
Double-click on CS370_Lab04.zip and extract the contents of the archive into a subdirectory called CS370_Lab04
Open CLion, select CS370_Fa24 from the main screen (you may need to close any open projects), and open the CMakeLists.txt file in this directory (not the one in the CS370_Lab04 subdirectory). Uncomment the line
add_subdirectory("CS370_Lab04" "CS370_Lab04/bin")
Finally, select Reload changes which should build the project and add it to the dropdown menu at the top of the IDE window.
Solution
Download CS370_Lab04_Solution.zip, saving it into the CS370_Fa24 directory.
Double-click on CS370_Lab04_Solution.zip and extract the contents of the archive into a subdirectory called CS370_Lab04_Solution
Open CLion, select CS370_Fa24 from the main screen (you may need to close any open projects), and open the CMakeLists.txt file in this directory (not the one in the CS370_Lab04_Solution subdirectory). Uncomment the line
add_subdirectory("CS370_Lab04_Solution" "CS370_Lab04_Solution/bin")
Finally, select Reload changes which should build the project and add it to the dropdown menu at the top of the IDE window.
Keyboard Input
Keyboard input is handled via a keyboard callback. This callback has the signature
void key_callback(GLFWwindow* window, int key, int scancode, int action, int mods);
where window is the current window, key is the pressed key (e.g. GLFW_KEY_A, etc.), scancode are system specific codes for additional keys, action is the state if the key (GLFW_PRESS, GLFW_REPEAT, or GLFW_RELEASE), and mods are any modifier keys simultaneously pressed (e.g. GLFW_MOD_SHIFT, GLFW_MOD_CONTROL, etc.) Thus within the callback, you can query the state and value of the key pressed to decide on appropriate actions, e.g.
    if (key == GLFW_KEY_SPACE && action == GLFW_PRESS ) {
        // Perform jump action
    }
Note: Typically we will include the GLFW_PRESS constant to only detect when the key is pressed to avoid triggering the event a second time when the key is released. However, other actions can be used to operate on a press and hold down event.
In order to tell the system which callback function to execute when a keyboard event occurs, we will register the callback (usually in main() after creating the window) using
glfwSetKeyCallback(window, key_callback);
where window is the reference to the current window and key_callback is the name of the keyboard callback routine.
Tasks
-
Add code to key_callback() to check for the following keys
-
GLFW_KEY_UP (up arrow) should increase hex_y by delta
-
GLFW_KEY_DOWN (down arrow) should decrease hex_y by delta
-
GLFW_KEY_LEFT (left arrow) should decrease hex_x by delta
-
GLFW_KEY_RIGHT (right arrow) should increase hex_x by delta
-
-
Add code to main() to register the key_callback keyboard callback
-
Add code to render_scene() to create the translation matrix trans_matrix with offsets hex_x and hex_y. Note: Since we are in 2D, set the z offset to 0
Mouse Input
Mouse input is handled by several mouse callbacks, the two most commonly used ones are the mouse button callback and the mouse motion (cursor) callback.
Mouse Button Callback
The mouse button callback is used to process mouse button click events. It has the signature
void mouse_button_callback(GLFWwindow* window, int button, int action, int mods);
where window is the current window, button is the clicked button (e.g. GLFW_MOUSE_BUTTON_LEFT, GLFW_MOUSE_BUTTON_RIGHT, etc.), action is the state of the button (e.g. GLFW_PRESS or GLFW_RELEASE), and mods are any modifier keys simultaneously pressed (e.g. GLFW_MOD_SHIFT, GLFW_MOD_CONTROL, etc.) If within the callback you would like to retrieve the current cursor position, you can use
void glfwGetCursorPos(GLFWwindow* window, double* xpos, double* ypos);
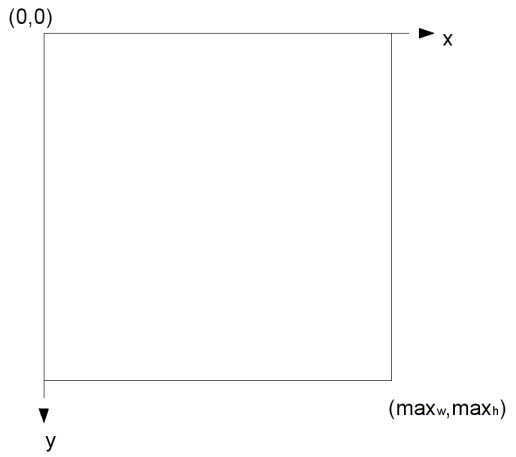
where window is the current window, xpos is a reference (i.e. &) to a double variable to store the x position, and ypos is a reference (i.e. &) to a double variable to store the y position. Note: These positions are screen coordinates in pixels within the window relative to the (0,0) upper left-hand corner of the window. See below for more information regarding screen coordinates. Thus within the callback, you can query the state and value of the key pressed to decide on appropriate actions, e.g.
    if (button == GLFW_MOUSE_BUTTON_LEFT && action == GLFW_PRESS ) {
        // Fire a weapon
    }
In order to tell the system which callback function to execute when a mouse button event occurs, we will register the callback (usually in main() after creating the window) using
glfwSetMouseButtonCallback(window, mouse_button_callback);
where window is the reference to the current window and mouse_button_callback is the name of the mouse button callback routine.
Mouse Motion (Cursor) Callback
The mouse motion callback is used to process mouse movement events to retrieve the current cursor position in screen coordinates. Screen coordinates are measured in pixels with (0,0) being the upper left-hand corner of the window with the x axis increasing to the right and the y axis increasing downward. While there is an obvious relationship between screen coordinates and world coordinates in 2D, in 3D that relationship becomes ambiguous which can make selecting objects in the scene somewhat challenging.
The mouse motion callback has the signature
void cursor_position_callback(GLFWwindow* window, double xpos, double ypos);
where window is the current window, xpos is the cursor’s current x position in screen coordinates, and ypos is the cursor’s current y position in screen coordinates. Note: On some platforms, this callback can return sub-pixel values.
Often this callback is used to measure a relative distance from a starting location (stored in a global state in the mouse button callback).
In order to tell the system which callback function to execute when a mouse motion event occurs, we will register the callback (usually in main() after creating the window) using
glfwSetCursorPosCallback(window, cursor_position_callback);
where window is the reference to the current window and cursor_position_callback is the name of the mouse motion callback routine.
Tasks
-
Add code to mouse_callback() to check for GLFW_MOUSE_BUTTON_LEFT (left mouse button) being GLFW_PRESS (pressed) and multiply dir by -1 (to flip the animation direction)
-
Add code to main() to register the mouse_callback mouse button callback
Time-based Animation
We can achieve animation by updating the global state of our objects in the graphics loop. Ultimately we would like our animations to be system independent (assuming the user’s system has sufficient graphics capabilities) by rendering based on time, e.g. at a fixed frame rate. Fortunately GLEW provides a timer that can be used to do time-based rendering.
We can retrieve the elapsed time since GLFW was initialized using
double glfwGetTime();
which will return the elapsed time in seconds but typically accurate to a few microseconds.
Hence if we specify an animation rate for our objects, e.g. rpm (revolutions per minute) for rotation, then we can measure the elapsed time between frame renderings and update the global state by a corresponding amount. For example, if we want an object to spin at a rate of rpm and we measure an elapsed time of dt seconds, we can calculate the number of degrees the object should rotate by (where the factor of 360/60 converts rpm to deg/sec)
dang = rpm*(360.0/60.0)*dt
Tasks
-
Add code to main() to get the initial time and store the value in elTime
-
Add code to main() (in the graphics loop) to get the current time and store the value in curTime
-
Add code to main() (in the graphics loop) to update hex_angle with a rate of rpm and the elapsed time calculated as (curTime-elTime)
-
Add code to main() (in the graphics loop) to set elTime to curTime
-
Add code to render_scene() to create the rotation matrix rot_matrix with angle hex_angle and axis (0.0, 0.0, 1.0) (the z axis)
Compiling and running the program
You should be able to build and run the program by selecting spinningHexagon from the dropdown menu and clicking the small green arrow towards the right of the top toolbar.
At this point you should see a spinning red hexagon that can be moved around the screen using the arrow keys and reverse its direction using the left mouse button.
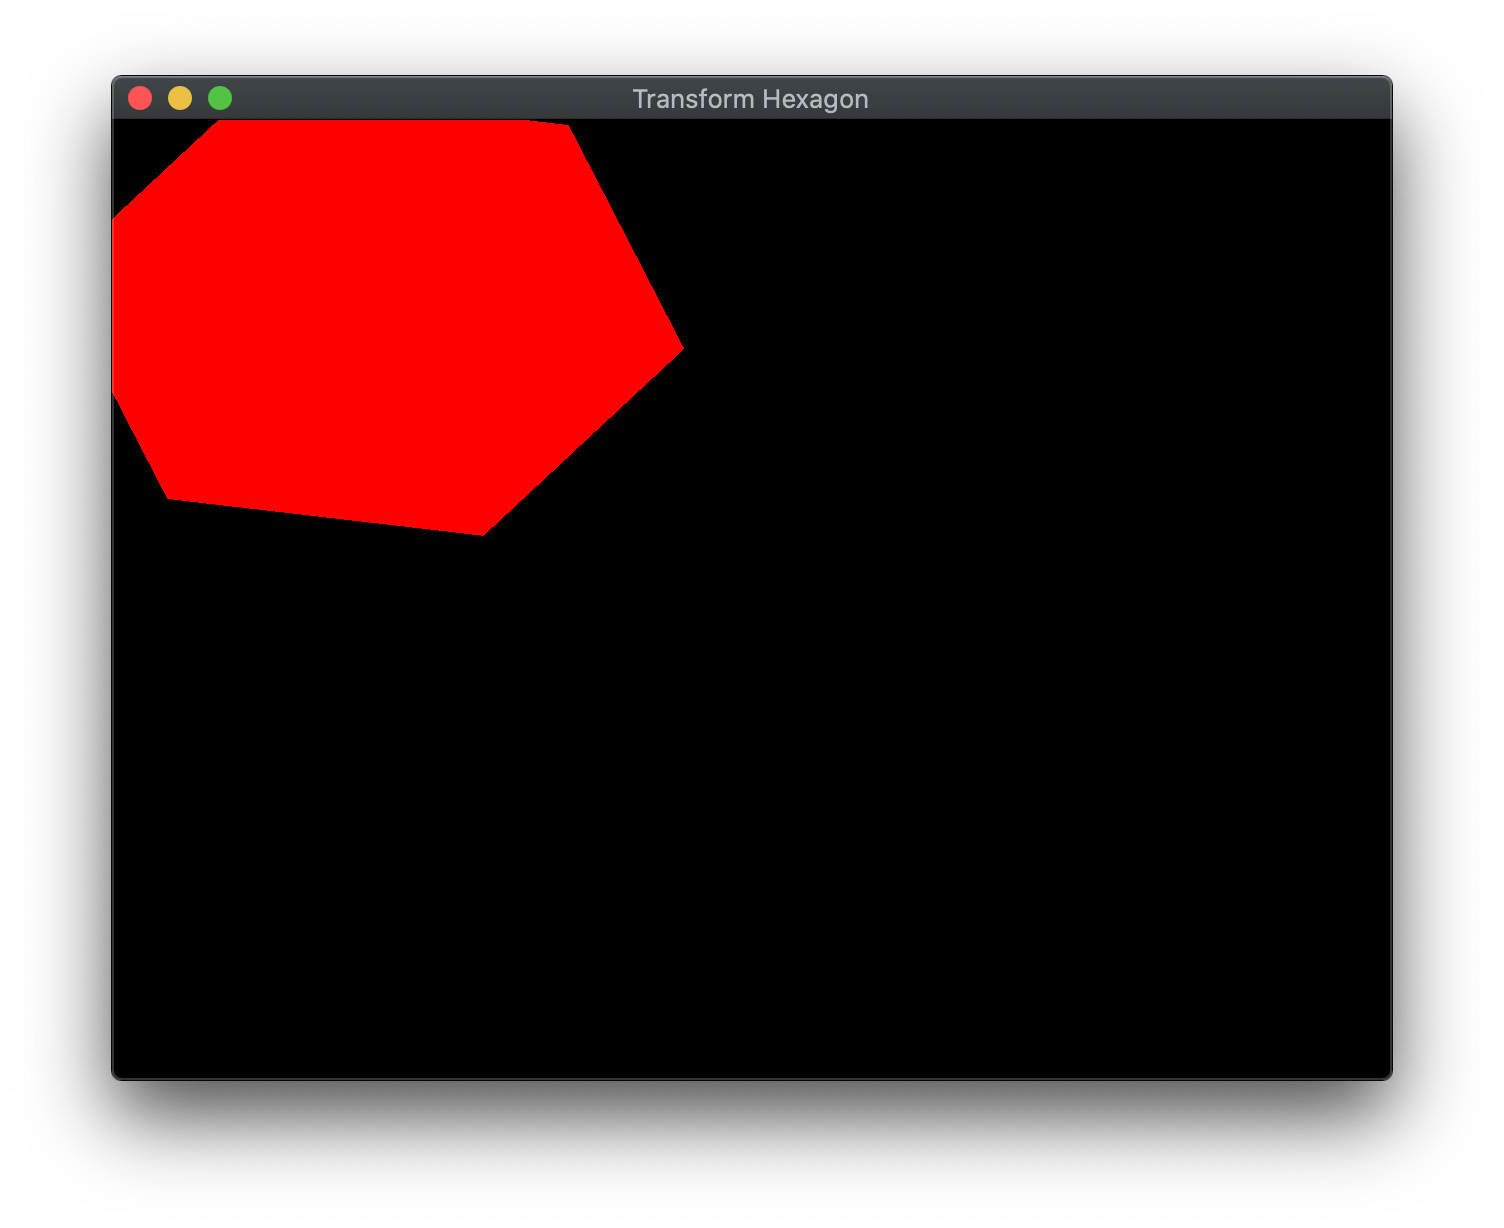
To quit the program simply close the window.
Congratulations, you have now added user inputs and animation into your scenes.
Next we will discuss how to create 3D objects using a basic (orthographic) projection.
