The geometry to render most natural objects is usually quite complicated, e.g. every blade of grass within a field or the surface variations of the bricks in a wall. Therefore, most graphics systems provide an incredibly powerful way of simulating complex geometry by painting a texture onto a geometrically simple surface, e.g. an image of grass on a flat rectangle. This technique is called texture mapping (think of wallpapering a surface). Since OpenGL does not provide a way to load images from files, we will be using the stb_image.h library to provide routines to load our images. Once we have loaded the image data from the file, we will create corresponding textures from these images (in this lab an earth and moon) which will then be passed as sampler shader variables. OpenGL has capabilities to handle 1D, 2D, and even 3D textures, however we will only be concerned with 2D textures (images) in this course.
The image is represented as a texture map which has normalized extents (0,0) in the lower left corner and (1,1) in the upper right corner of the image (scaled to the square regardless of the original aspect ratio). Each element of the texture map is known as a texel. To apply a texture to a surface, we simply need to associate with each vertex a corresponding texel and allow the graphics system to perform any necessary distortions to place the texture (or part of the texture) onto the rendered surface. Fortunately, the .obj files generated from Blender will include texture coordinates for the models we will be using.
Getting Started
Download CS370_Lab13.zip, saving it into the CS370_Fa24 directory.
Double-click on CS370_Lab13.zip and extract the contents of the archive into a subdirectory called CS370_Lab13
Open CLion, select CS370_Fa24 from the main screen (you may need to close any open projects), and open the CMakeLists.txt file in this directory (not the one in the CS370_Lab13 subdirectory). Uncomment the line
add_subdirectory("CS370_Lab13" "CS370_Lab13/bin")
Finally, select Reload changes which should build the project and add it to the dropdown menu at the top of the IDE window.
Solution
Download CS370_Lab13_Solution.zip, saving it into the CS370_Fa24 directory.
Double-click on CS370_Lab13_Solution.zip and extract the contents of the archive into a subdirectory called CS370_Lab13_Solution
Open CLion, select CS370_Fa24 from the main screen (you may need to close any open projects), and open the CMakeLists.txt file in this directory (not the one in the CS370_Lab13_Solution subdirectory). Uncomment the line
add_subdirectory("CS370_Lab13_Solution" "CS370_Lab13_Solution/bin")
Finally, select Reload changes which should build the project and add it to the dropdown menu at the top of the IDE window.
Loading Images
To simplify the process of creating a texture from an image, we will be using a helper function
void load_texture(const char * filename, GLuint texID, GLint magFilter, GLint minFilter, GLint sWrap, GLint tWrap, bool useMipMaps, bool invertImage);
where filename is a string containing the name of the image file (typically defined at the top of the code), texID is the index from the texture id array that we wish to load the texture into (corresponding to a Textures enum value at the top of the code), magFilter is the magnification filter setting, minFilter is the minification filter (and mipmapping) setting, sWrap is the horizontal wrapping mode setting, tWrap is the vertical wrapping mode setting, useMipMaps is a flag specifying if mipmaps should be created, and invertImage is a flag specifying if the image needs to be flipped vertically after being loaded (as some image formats are stored bottom-to-top). All of these settings will be subsequently discussed in detail.
In order to create a texture from an image, we will import images into memory using the stb_image.h library which will allow loading of a variety of file formats (including .jpg, .png, .bmp and others) via the command
unsigned char *data = stbi_load(char *filename, int &x, int &y, int &n, int chan);
where filename is a string containing the name of the image file, x is the returned width of the image, y is the returned height of the image, n is the returned number of color channels per pixel, and chan is the number of desired color channels per pixel (or 0 for the native number of channels in the image).
While the library provides a simple way to import images, it works best if the image dimensions are powers of 2.
Note: Take a look at the beginning of the load_texture() function to see the usage of the loader.
Creating Texture Maps
All textures, regardless of resolution, are mapped to a grid of texture coordinates (texels) known as the s-t plane with the s-axis representing the horizontal direction and the t-axis representing the vertical direction as shown below:

The texture coordinates thus are in the range [0,1] for both axes. They are then applied to the objects in the fragment processor through a mapping of vertices to texture coordinates.
Just like with the other buffers we have seen, e.g. vertex positions, colors, normals, etc., we will need to create references to our texture buffers using
void glGenTextures(GLsizei n, GLuint *textures);
where n is the number of textures we wish to create and textures will be the array where the generated texture id’s will be stored.
OpenGL supports applying multiple textures to a single object (which we will cover in a later lab) through multiple texture units. Thus we need to specify which texture unit will be active using
void glActiveTexture(GLenum texture);
where texture is a symbolic constant of the form GL_TEXTUREi where i is the number of the texture unit we wish to make active, e.g. GL_TEXTURE0.
Loading Image Data into a Texture
Once we have loaded the image data, created the texture id’s, and selected the active texture unit, need to bind the texture that we wish to use into the texture unit using
void glBindTexture(GLenum target, GLuint texture);
where target is a symbolic constant denoting the type of texture we are binding (e.g. for image data GL_TEXTURE_2D) and texture is the texture id for the texture we are binding.
We are now ready to load the image data into the currently bound texture using
void glTexImage2D(GLenum target, GLint level, GLint internalFormat, GLsizei width, GLsizei height, GLint border, GLenum format, Glenum type, const void *data);
where target is again the type of texture we are using (typically GL_TEXTURE_2D), level is the mipmap level we are loading the data into (to be discussed later), internalFormat specifies the format OpenGL should represent the texture with, width is the width of the image we are loading into the texture, height is the height of the image we are loading into the texture, border specifies if there is a padding around the image (useful for wrapping discussed later), format is the format of the image data, type is data type of the color channels in the image, and data is the image data.
Texture Scaling and Mipmaps
Since textures are applied in the fragment processor, they are placed on the rendered surfaces of objects. Many times the rendered resolution will not match the resolution of the texture map, so OpenGL needs to know how to account for this difference. Two cases can occur - either the rendered surface is higher resolution (requiring the texture to be magnified) or lower resolution (requiring the texture to be minified) - and corresponding modes must be set for both cases.
Magnification
In the case of maginification, the system must upscale the image using either the nearest corresponding texel or linear extrapolation from surrounding texels. Often times if scaling is severe, the texture will appear pixelated in which case an additional higher resolution texture should be created by the programmer and loaded into the application. Small magnifications, however, can be handled by setting
void glTexParameteri(GLenum target, GLenum pname, Type param);
where target is again the type of texture we are using (typically GL_TEXTURE_2D), pname is the parameter we wish to set (e.g. GL_TEXTURE_MAG_FILTER for magnification), and param is the value we wish to set the parameter to (e.g. GL_NEAREST or GL_LINEAR).
Minification
Minification, when the texture is larger than the rendered surface, typically occurs more frequently, e.g. high-res textures for small (in pixels) objects. One possibility is to simply use a reduction filter similar to magnification (GL_TEXTURE_MIN_FILTER with GL_NEAREST or GL_LINEAR) to produce reduced resolution images, however repeatedly performing this resizing for numerous objects is inefficient. OpenGL provides an alternative mechanism known as mipmapping which precomputes reduced resolution textures (also storing them on the graphics card) and then applies the one that most closely matches the rendered object’s resolution. We can have the system generate mipmap levels automatically using
void glGenerateMipmap(GLenum target);
where target is again the type of texture we are using (typically GL_TEXTURE_2D).
Mipmaps
Mipmaps work best when the original image dimensions are powers of 2 (but they are not required to be). The mipmaps create reduced resolution textures by repeatedly dividing each dimension in half either a prespecified number of times or until one of the dimensions becomes 1.
Occasionally, auto generating mipmaps can produce undesirable images (particularly for ones with fine detail), thus we can load alternative images into specific mipmap levels for the same texture using the level parameter with glTexImage2D() - which is particularly useful for better controlling the appearance at very small resolutions.
The minification and mipmap mode are then set via the glTexParameteri() command for the GL_TEXTURE_MIN_FILTER parameter to either nearest or linear for both the texel and mipmap level using either GL_NEAREST_MIPMAP_NEAREST, GL_LINEAR_MIPMAP_NEAREST, GL_NEAREST_MIPMAP_LINEAR, or GL_LINEAR_MIPMAP_LINEAR.
BE CAREFUL: mipmaps can use a substantial amount of graphics memory and produce significant artifacting, so it is best to try to load textures that are roughly the necessary size for the objects being rendered, i.e. avoid loading high resolution textures for low resolution objects.
Texture Wrapping
Lastly, we need to specify how textures will wrap, i.e. repeat, when applied to objects whose geometry is larger than the texture map extents. Two alternatives are to repeat the entire texture map (i.e. tile the surface) or to simply clamp (i.e. extend) the coloring of the edge. Each of these options can be set separately for the s and t directions (refer to the texture plane discussion above) via the glTexParameteri() command for the GL_TEXTURE_WRAP_S and GL_TEXTURE_WRAP_T parameters to either GL_REPEAT or GL_CLAMP.
Tasks
-
Add code to load_texture() to bind the current texture id from the TextureIDs[] array (using the loop counter). Hint: This is a GL_TEXTURE_2D texture.
-
Add code to load_texture() to load the image data into the current texture using mipmap level 0, the GL_RGBA internal format, the width and height from the image library load command, 0 for the border, GL_RGBA as the format of the image data (note there were 4 color channels specified as the format when the image was loaded), GL_UNSIGNED_BYTE as the color channel datatype, and the image_data variable containing the data from the stb library load command. Hint: This is a GL_TEXTURE_2D texture.
-
Add code to load_texture() to autogenerate mipmaps if the useMipMaps flag is set. Hint: This is a GL_TEXTURE_2D texture.
-
Add code to load_texture() to set each scaling mode to the corresponding parameter magFilter or minFilter. Hint: This is a GL_TEXTURE_2D texture.
-
Add code to load_texture() to set each wrapping mode to to the corresponding parameter sWrap or tWrap. Hint: This is a GL_TEXTURE_2D texture.
-
Add code to build_textures() to load the earth image from the earthFile using the appropriate Texture enum constant, the scaling modes such that the magnification filter is set to linear and the minification filter to linear for texels and mipmap levels, the wrapping modes set to repeat in both the s and t directions, using mipmapping, and without inverting the image. Hint: Use the load_texture() function.
-
Add code to build_textures() to load the moon image from the moonFile using the appropriate Texture enum constant, the scaling modes such that the magnification filter is set to linear and the minification filter to linear for texels and mipmap levels, the wrapping modes set to repeat in both the s and t directions, using mipmapping, and without inverting the image. Hint: Use the load_texture() function.
-
Add code to build_textures() to load the space image from the spaceFile using the appropriate Texture enum constant, the scaling modes such that the magnification filter is set to linear and the minification filter to linear for texels and mipmap levels, the wrapping modes set to repeat in both the s and t directions, using mipmapping, and with inverting the image. Hint: Use the load_texture() function.
Using Texture Maps
Textures are associated with an object on a per vertex basis (similar to normals for lighting) by assigning a texture coordinate to each vertex (often known as a uv-coordinate). This assignment will relate which parts of the texture map is connected to which vertices in the object. Texture coordinates outside the range [0,1] are mapped to points on the extended texture map determined by the wrapping properties discussed in the previous section. Once each vertex in the object is assigned a corresponding texture coordinate, OpenGL will copy the appropriate portion of the texture map (or mipmap) onto the rendered surface, interpolating or extrapolating as needed based on the scaling properties discussed in the previous section. The assignment of texture coordinates is done (similar to setting the normal) through an attribute buffer.
Note: The model loader we are using will return a vector of uv-coordinates for each vertex.
Prior to rendering the object, we must make the desired texture unit (0 for now) active, and then bind the texture coordinate buffer along with the texture we wish to use (which will associate it with a shader sampler variable discussed below) again using
void glActiveTexture(GLenum tex_unit);
where tex_unit is a symbolic constant of the form GL_TEXTUREi where i is the number of the texture unit we wish to make active, e.g. GL_TEXTURE0, and
void glBindTexture(GLenum target, GLuint texture);
where target is a symbolic constant denoting the type of texture we are binding (e.g. for image data GL_TEXTURE_2D) and texture is the texture id for the texture we are binding.
We will use a helper function to draw texture mapped objects
void draw_tex_object(GLuint obj, GLuint texture);
where obj is the constant from the VAO_IDs enum for the object we wish to use and texture is the constant from the Textures enum for the texture we wish to apply to the object.
Tasks
-
Add code to draw_tex_object() to make GL_TEXTURE0 active and bind the obj parameter index from the TextureIDs[] array. Hint: This is a GL_TEXTURE_2D texture.
-
Add code to render_scene() to call draw_tex_object() passing the Sphere and Earth constants to draw the earth.
-
Add code to render_scene() to call draw_tex_object() passing the Sphere and Moon constants to draw the moon.
Again, like colors, we can reuse the same geometry with different textures.
Texture Maps in Shaders
The currently bound texture maps are associated with a shader variable known as a sampler of type uniform sampler2D for our image data. This sampler variable will retrieve, i.e. sample, the image at the specified texel and apply any scaling and wrapping modes to generate the pixel color. This is done using the shader function
vec4 texture(sampler2D texture, vec2 texCoord);
where texture is the sampler variable and texCoord is the texture coordinate (passed from the vertex shader).
Tasks
-
Add code to texture.vert to pass the texture coordinates received in the vTexCoord variable to the fragment shader by assigning it to the texCoord variable.
-
Add code to basicTex.frag to sample the tex sampler variable at the texCoord location and assign the sampled color to fragColor using
fragColor = texture(tex, texCoord);
At this point you should see a texture mapped moon orbiting a texture mapped rotating earth.
Backgrounds
One way to add a background image to our scenes is to use a simple quad that is the same size as the window. This can be accomplished by adjusting the projection matrix extents and camera position back to their default values and then rendering a square with corners (-1,-1) and (1,1). Since we will want the background to be behind any rendered geometry, typically we will render the background image first without updating the depth buffer (similar to translucent objects).
Tasks
-
Add code to build_background() to set texture coordinates for the vertices used to draw the square such that the upper right corner of the square has texture coordinate (2,2) and the lower left corner of the square has texture coordinate (-1,-1). Note: The square is using extended texture plane coordinates and the wrapping mode for the texture. Hint: It may be helpful to sketch the square on a piece of paper to ensure the texture coordinates match the corresponding vertices.
-
Add code to draw_background() to set an orthographic projection matrix with extents (-1, 1, -1, 1, -1, 1)
-
Add code to draw_background() to set the camera matrix to the identity
-
Add code to draw_background() to set the model matrix to the identity
-
Add code to draw_background() to call draw_tex_object() passing the Background and Space constants to draw the background object.
-
Add code to draw_background() around the drawing command to disable/reenable writing to the depth buffer . Hint: Use the glDepthMask() function.
Compiling and running the program
You should be able to build and run the program by selecting earthMoon from the dropdown menu and clicking the small green arrow towards the right of the top toolbar.
At this point you should see a textured moon orbiting a textured earth (note: they are not astronomically correct) with a tiled space background.
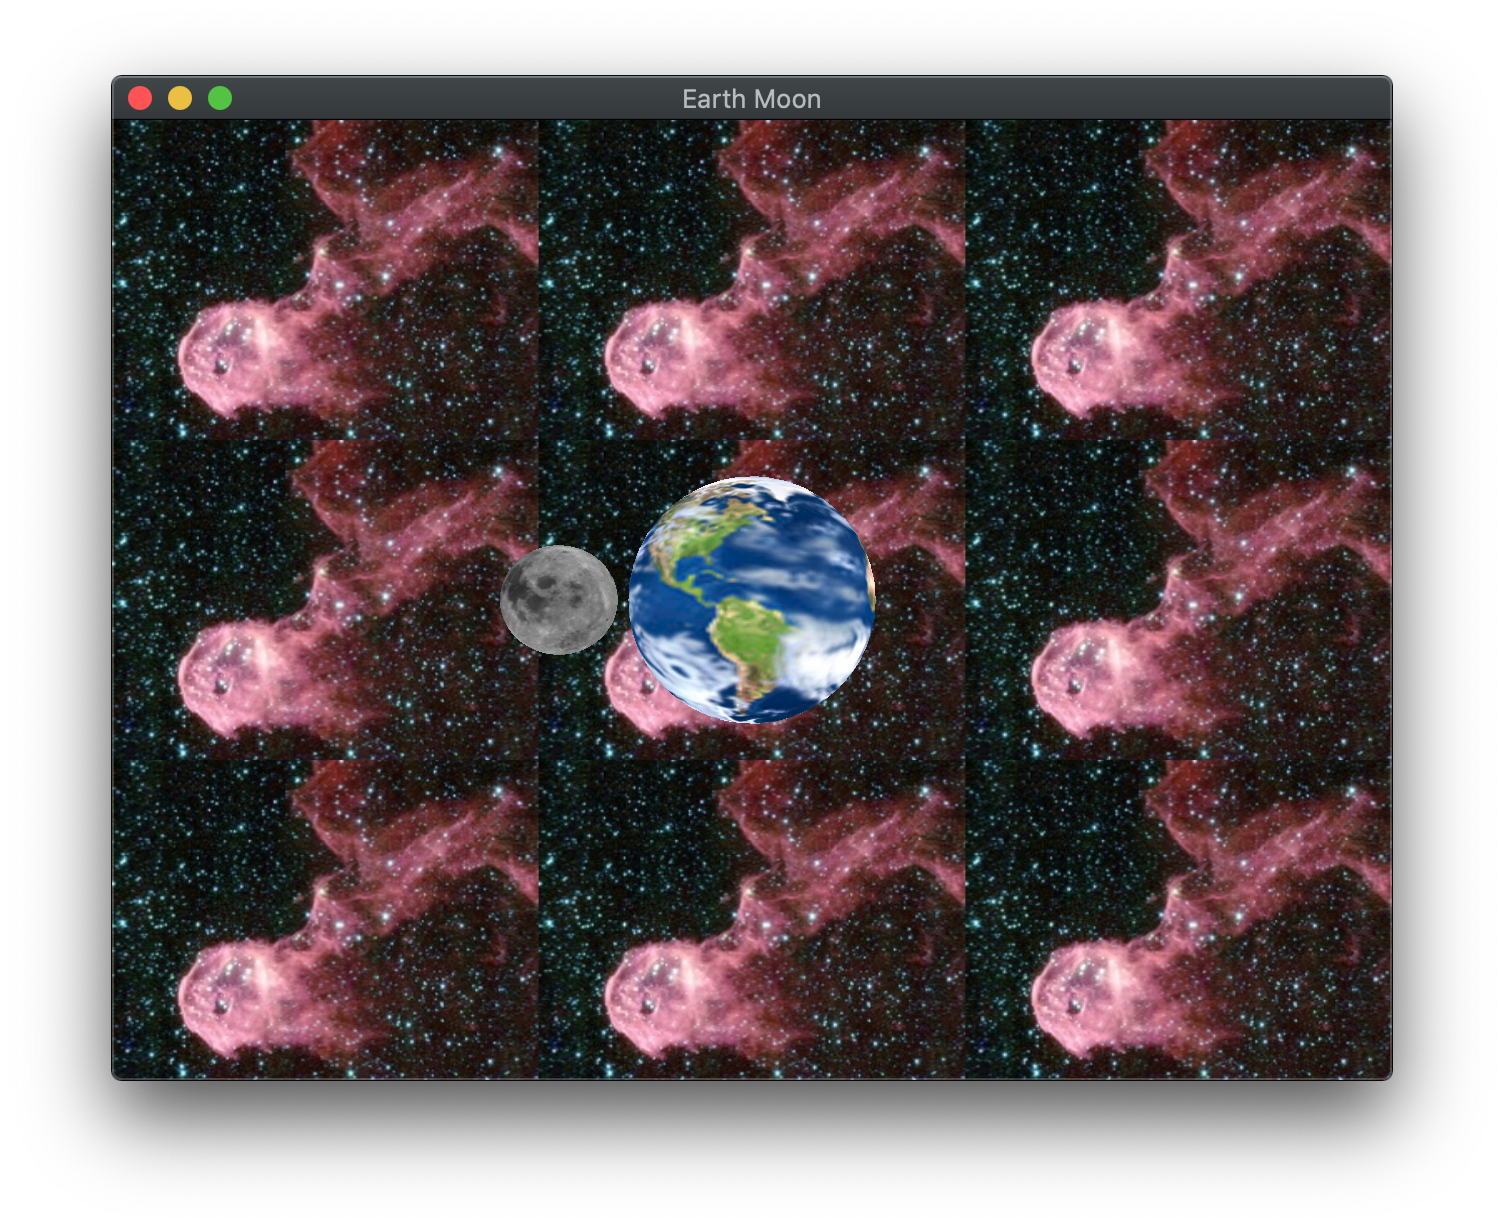
To quit the program simply close the window.
Congratulations, you have now written an application with texture mapping.
Next we will investigate how to create scenes using a scene graph data structure.
