Often times we wish to have reflective surfaces, i.e. mirrors, within a scene. Unfortunately, similar to shadow mapping, one of the major shortcomings of the graphics pipeline is the lack of global information which would be needed for reflections (the reflective surface would need to know about the other objects in the scene). Again, we can address this issue (with a performance impact) using multipass rendering. To create a mirror, we will generate a texture map (known as an environment map) of the scene rendered from the point of view of the reflective object, which is then placed on the object within the scene thereby giving the appearance of reflection.
Getting Started
Download CS370_Lab16.zip, saving it into the CS370_Fa24 directory.
Double-click on CS370_Lab16.zip and extract the contents of the archive into a subdirectory called CS370_Lab16
Open CLion, select CS370_Fa24 from the main screen (you may need to close any open projects), and open the CMakeLists.txt file in this directory (not the one in the CS370_Lab16 subdirectory). Uncomment the line
add_subdirectory("CS370_Lab16" "CS370_Lab16/bin")
Finally, select Reload changes which should build the project and add it to the dropdown menu at the top of the IDE window.
Solution
Download CS370_Lab16_Solution.zip, saving it into the CS370_Fa24 directory.
Double-click on CS370_Lab16_Solution.zip and extract the contents of the archive into a subdirectory called CS370_Lab16_Solution
Open CLion, select CS370_Fa24 from the main screen (you may need to close any open projects), and open the CMakeLists.txt file in this directory (not the one in the CS370_Lab16_Solution subdirectory). Uncomment the line
add_subdirectory("CS370_Lab16_Solution" "CS370_Lab16_Solution/bin")
Finally, select Reload changes which should build the project and add it to the dropdown menu at the top of the IDE window.
Pass 1 - Texture Mapping the Framebuffer
Environment map texture
In order to store the image of the scene from the perspective of the mirror, we will create a texture (similar to the shadow map) which is the same size as the framebuffer to avoid the need to perform any scaling. Furthermore, typically we will not enable mipmapping for the environment map and simply copy the framebuffer into level 0 of the environment map texture (of equivalent size).
Tasks
- Add code to build_mirror() to creates an empty mirror texture for the environment map (which is allocated and bound for the m_texid parameter that is passed as MirrorTex) that is ww by hh using glTexImage2D()
glTexImage2D(GL_TEXTURE_2D, 0, GL_RGBA, ww, hh, 0, GL_RGBA, GL_FLOAT, NULL);
Note: When creating this texture, we did not build mipmaps as we will be loading the texture map dynamically each time we render the scene (thus it would be computationally expensive to continually regenerate mipmaps).
Setting the mirror perspective
We will create the effect of reflection by rendering the scene from the point of view of the reflective object and copy that image into the environment map. Therefore, the first thing we must do in the create_mirror( ) function is set an appropriate projection matrix using either ortho( ) or frustum( ). The key here is to select extents that are representative of the reflective surface, i.e. usually with the near clipping plane at (or very near for a frustum) 0.0 which will be the object’s surface, the far clipping plane set to capture the objects of interest, and the other extents to match the geometry of the object itself. Next we need to position the camera at the center of the object and point it away from the reflective surface. Depending on the desired effect, this direction can be either perpendicular to the surface or (more realistically) at an equal angle from the viewer (recall angle of incidence equals angle of reflection), see How to calculate the reflection vector for the math to compute this. Once the projection matrix and camera position are set appropriately, we simply render the scene without the reflective surface. This will create the “picture” of the scene from the point of view of the reflective surface in the framebuffer. However instead of using glfwSwapBuffers( ) to display it on the screen, we will place the image into a texture using
glCopyTexImage2D(GL_TEXTURE_2D, level, format, x, y, w, h, border);
where level indicates the mipmap level to store the image into (which we will use level 0 for the environment map), format is the format to store the image in (usually GL_RGBA), x and y are the initial lower-left raster coordinates of the framebuffer, w and h are the width and height of the image to capture, and border specifies a border width for the image.
Note: glCopyTexImage2D( ) copies the framebuffer into the currently selected texture map, so be careful to avoid overwritting a pre-existing object texture.
Also since the environment takes the image from the framebuffer, any effects used in rendering the scene, e.g. lighting and texture mapping, will appear in the reflection.
Tasks
-
Add code to create_mirror() to set the proj_matrix to a frustum with extents (-0.2,0.2,-0.2,0.2,0.2,100.0).
-
Add code to create_mirror() to set the camera_matrix for the mirror camera position using lookat with mirror_eye, mirror_center, mirror_up as the vectors. Note: we will use mirror_eye as the translation transformation when we render the mirror.
-
Add code to create_mirror() after the scene has been rendered to activate GL_TEXTURE0 using glActiveTexture().
-
Add code to create_mirror() to bind the MirrorTex element of the TextureIDs[] array which will be the texture where the environment map is stored.
-
Add code to create_mirror() to copy the framebuffer to the bound environment map using glCopyTexImage2D() into level 0, using GL_RGBA format, starting at (0,0), of size (ww,hh), and with 0 border.
-
Add code to main() in the rendering loop to call create_mirror() before rendering the actual scene
Note: To help with mirror positioning and extents, uncomment the renderQuad() function and comment out display() to render the environment map to the screen until it appears the way you would like.
Rendering the Scene with Mirror
Once the map is created, we simply render the scene as usual (using render_scene()) and add the mirror as a texture mapped object that uses the environment map texture.
Tasks
-
Add code to render_scene() to compute trans_matrix as a translation by mirror_eye, i.e. place the mirror at the same spot that the mirror camera was located to generate the environment map. Hint: You can use the vector version of translate() rather than separate out the individual components.
-
Add code to render_scene() to compute rot_matrix as a rotation by -90 degrees about the x-axis (so that the mirror is vertical in the scene).
-
Add code to render_scene() to compute scale_matrix as a scaling by 2.0 along each axis.
-
Add code to render_scene() to compute model_matrix as the product of the translation, rotation, and scaling matrices.
-
Add code to render_scene() to draw the mirror using draw_tex_object() with the Mirror and MirrorTex constants.
Note: No new shader code was required as it simply is rendering the scene normally from two different perspectives.
Compiling and running the program
You should be able to build and run the program by selecting mirrorMesh from the dropdown menu and clicking the small green arrow towards the right of the top toolbar.
At this point you should see a torus and revolving sphere that are reflected in a mirror
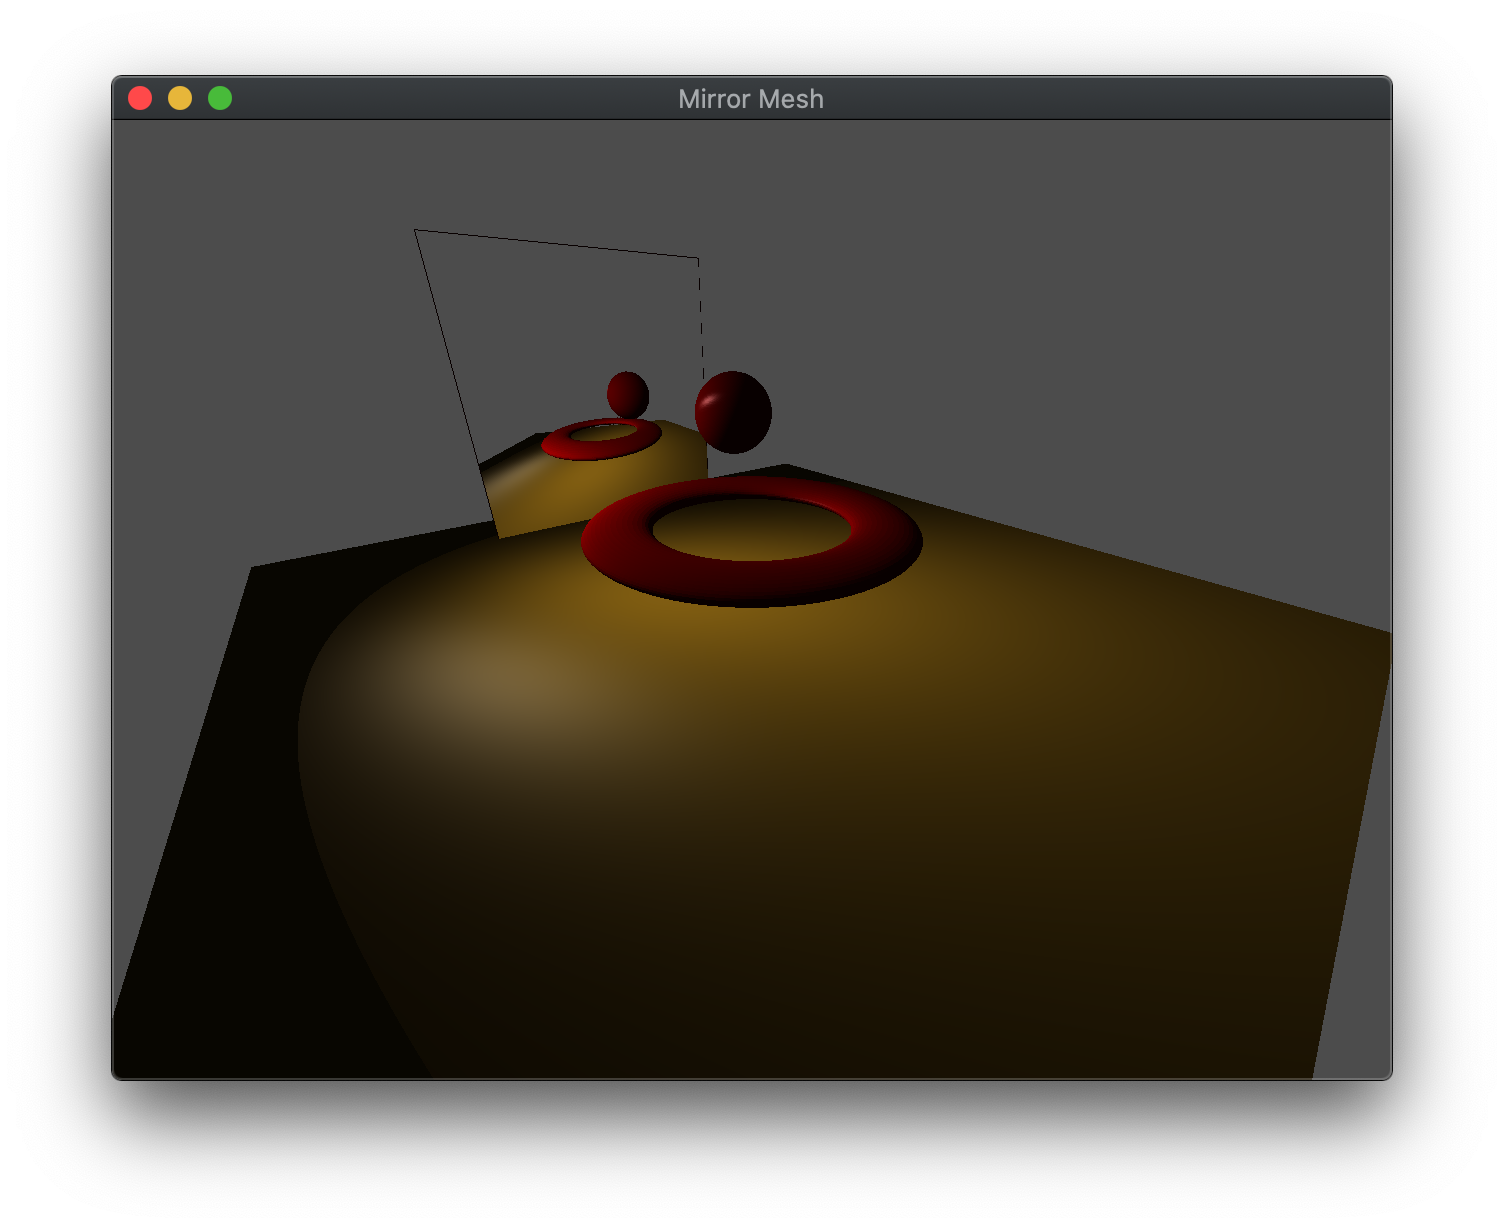
To quit the program simply close the window.
Congratulations, you have now written an application incorporating mirrors.
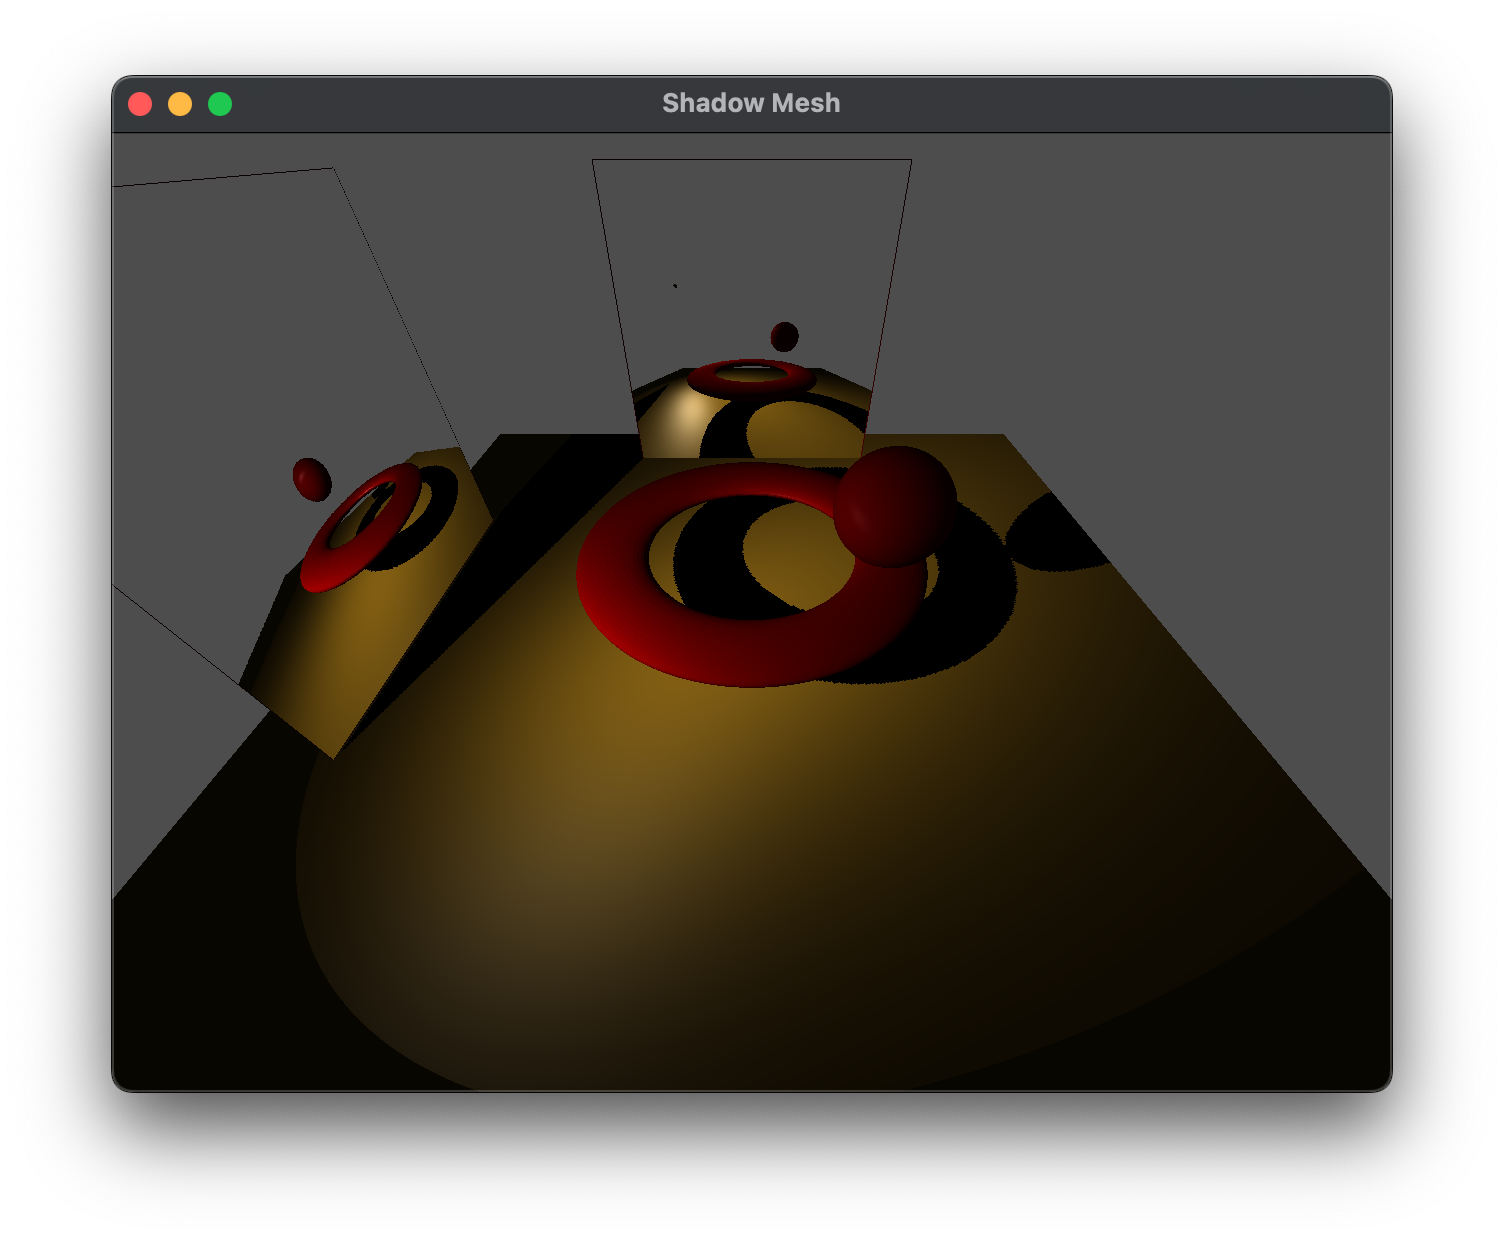
We can also incorporate shadows into the scene by first rendering the scene from the point of view of the light (storing the depth field in a texture) excluding the mirror, then render the scene from the point of view of the mirror adding in the shadows (storing the framebuffer in a texture) again excluding the mirror, and then finally rendering the scene with the mirrors. Multiple mirrors can be added in a similar fashion with the constraint that it is difficult to have the mirrors reflect each other. Here is a sample solution with two mirrors and shadows
CS370_Lab16_Shadow_Solution.zip
You will need to add the following line to your CMakeLists.txt file in the CS370_Fa24 directory (not the one in the CS370_Lab16_Shadow_Solution subdirectory).
add_subdirectory("CS370_Lab16_Shadow_Solution" "CS370_Lab16_Shadow_Solution/bin")
Next we will investigate how to apply multiple textures to an object.
