OpenGL programs are usually written in C although there have been wrappers written to encapsulate OpenGL functionality in Java and C#. In any case, to write OpenGL programs we must be able to interact with the underlying graphics system which is system/OS dependent. In particular, displaying output requires manipulation of the operating system’s window manager. To greatly simplify this process, we will be using GLFW (an open source library) which is available for all platforms and will abstract the system specific window management details for us. GLFW will also provide for basic user interaction via handling keyboard and mouse events (and even joysticks). We will also be using the GLEW extension library to expose OpenGL extension support for systems such as Windows.
For this course, we will be targeting OpenGL 4.1, which is the latest version of OpenGL supported by Mac/OSX, thus this lab will ensure that the system supports at least this version.
To eliminate the need for installation of GLFW and GLEW, all the labs will include directories with the necessary headers and libraries. As we proceed through the course, we will be adding additional libraries that will allow us to load in models, load in images, and generate tangent spaces.
We will be using CMake to configure our build environment for proper compilation across different platforms.
Getting Started
BE SURE YOU HAVE SET UP THE ENVIRONMENT BY FOLLOWING THE CS370_Setup INSTRUCTIONS
Download CS370_Lab00.zip, saving it into the CS370-Fall2022 directory.
Double-click on CS370_Lab00.zip and extract the contents of the archive into a subdirectory called CS370_Lab00
Open CLion, select CS370-Fall2022 from the main screen (you may need to close any open projects), and open the CMakeLists.txt file in this directory (not the one in the CS370_Lab00 subdirectory). Uncomment the line
add_subdirectory("CS370_Lab00" "CS370_Lab00/bin")
Finally, select Reload changes which should build the project and add it to the dropdown menu at the top of the IDE window.
Creating an OpenGL Window with GLFW
At the beginning of the main function you should see:
    // Create OpenGL window
    GLFWwindow* window = CreateWindow("Hello OpenGL!");
    if (!window) {
        fprintf(stderr, "ERROR: could not open window with GLFW3\n");
        glfwTerminate();
        return 1;
    } else {
        printf("OpenGL window successfully created\n");
    }
This code calls a function in the utils.cpp file that uses GLFW to create an OpenGL window and display the supported version of OpenGL for the system hardware. Note: For this class we will want at least OpenGL 4.1 support.
Run Display Loop
To begin rendering, we will use the following code:
    // Start loop
    while ( !glfwWindowShouldClose( window ) ) {
        // Retrieve any UI events
        glfwPollEvents();
        // Swap buffer onto screen
        glfwSwapBuffers( window );
    }

    // Close window
    glfwTerminate();
This loop polls the OS for any UI events and redraws the window repeatedly (using double buffering). Once the system receives notification that the user wishes to terminate the program, we will call a GLFW cleanup routine to release any allocated system resources.
Compiling and running the program
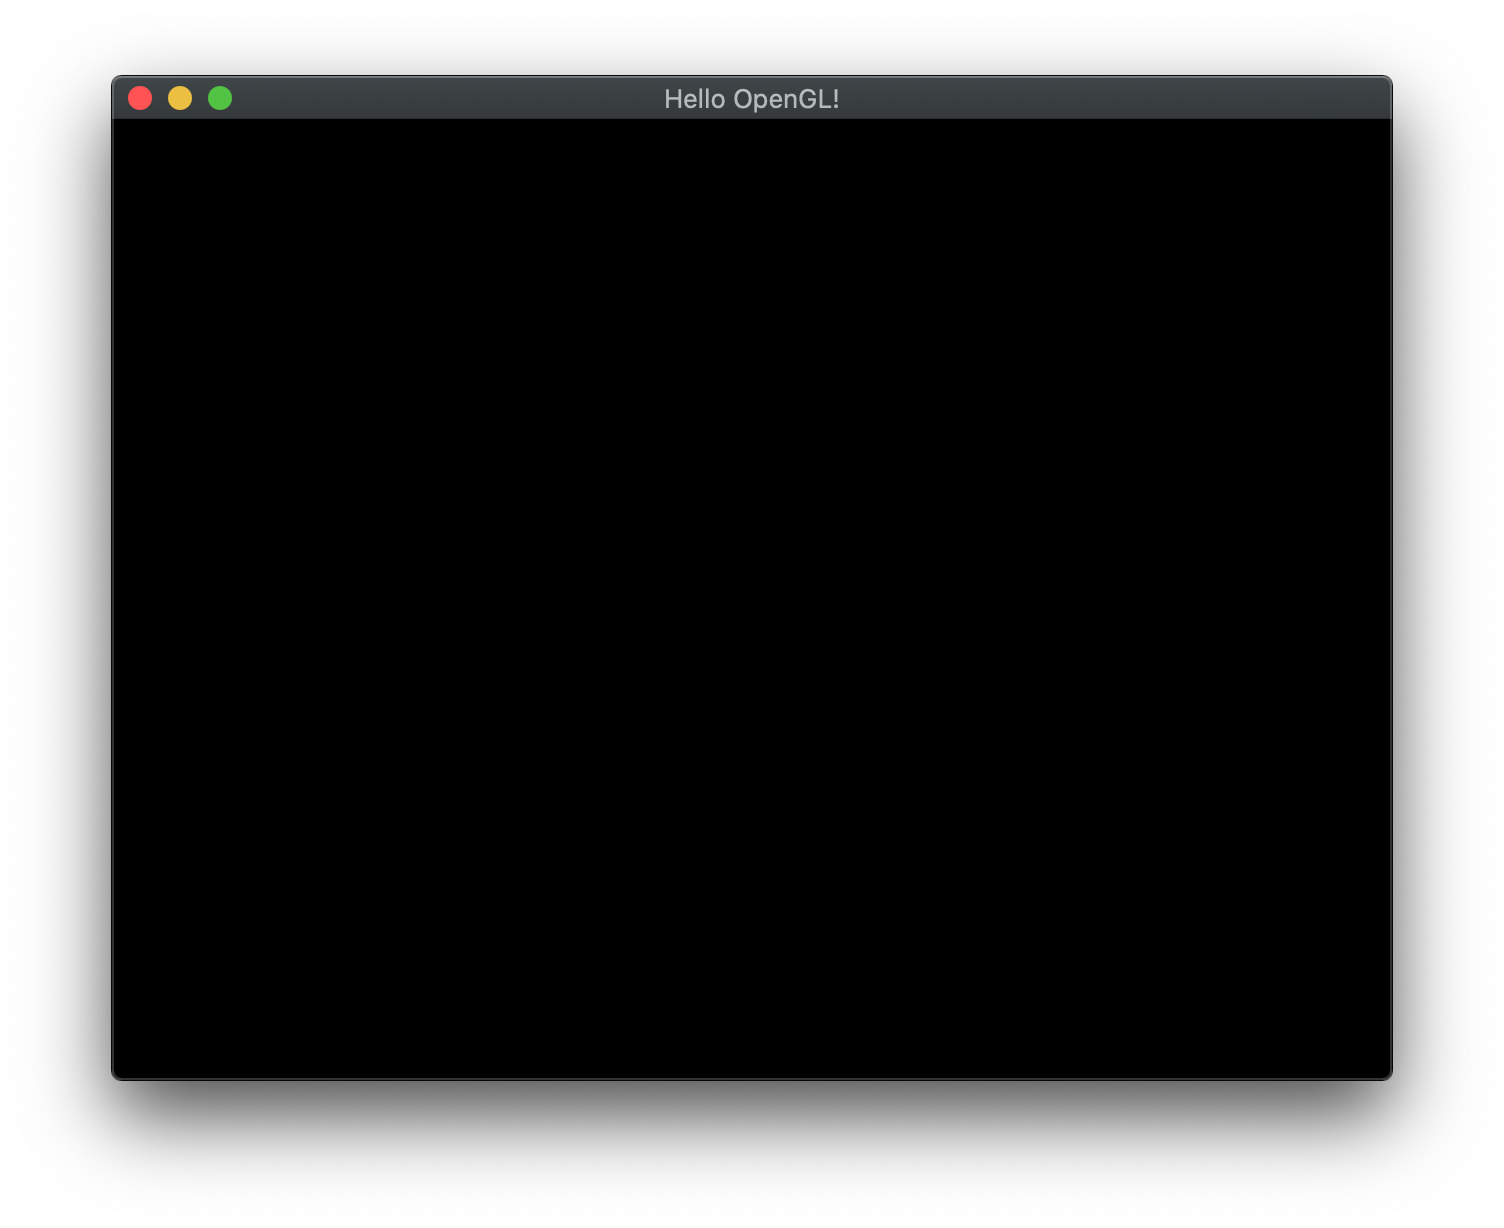
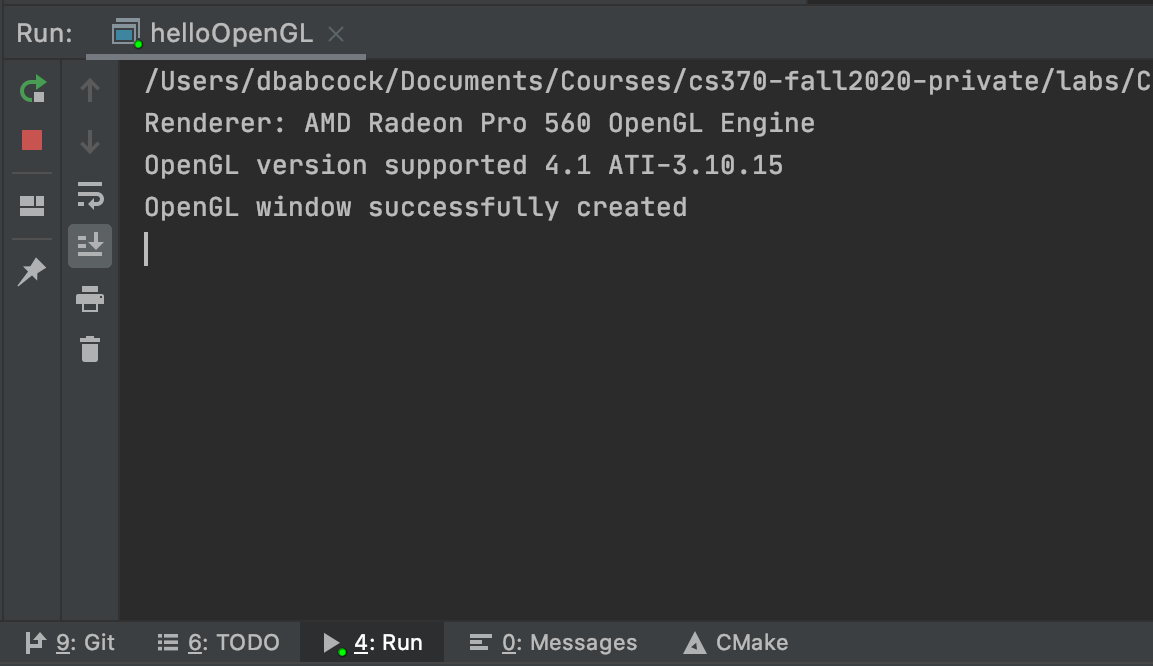
You should be able to build and run the program by selecting helloOpenGL from the dropdown menu and clicking the small green arrow towards the right of the top toolbar.
At this point you should see a blank window with the title Hello OpenGL! and output in the CLion console window listing the supported OpenGL version.
To quit the program simply close the window.
Congratulations, if this program runs you are all set to start creating your own 3D graphics! Let the fun begin!
Next we will learn how to create objects using basic geometry.
