This page contains a step-by-step guide through the installation of CLion and other JetBrains IDEs.
Install JetBrains Toolbox App and the CLion IDE
The quickest and easiest way to install and update multiple JetBrains IDEs is to use the JetBrains Toolbox App. Follow the steps below to install the Toolbox App and your IDEs.
-
Step 1: Download and install the JetBrains Toolbox App. The toolbox is available for Windows, macOS, and Linux.
-
Step 2: After installation, run the Toolbox App. It will appear as a cube in the taskbar or menu bar of your operating system.
-
Step 3: Click on the cube to see a list of IDEs that you can install. If this is the first time that you’ve installed the Toolbox App, you may need to agree to the licensing terms before you’ll see the list of IDEs.
-
Step 4: From within the Toolbox App, click the Install button next to CLion to install the required IDE. You should see a progress bar in the header of the Toolbox App.
-
Step 5: When the installation is complete, you should be able to run the newly installed IDE either from within the Toolbox App, or from the location at which it was installed on your operating system (i.e. macOS Applications folder or Windows Start Menu). Run the CLion IDE now.
-
Step 6: If you’re not already running CLion, start it now. If this is the first time you’ve run CLion, respond to the prompts regarding “Data Sharing” and you should then see a screen that looks like the following.
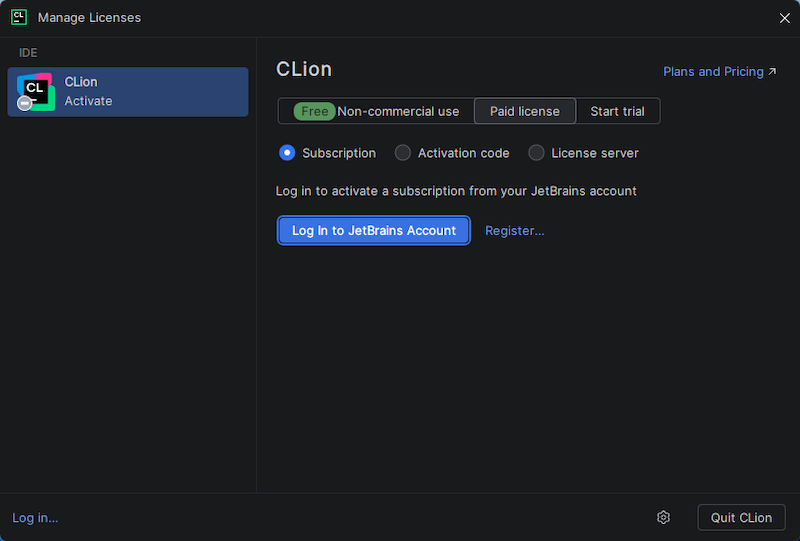
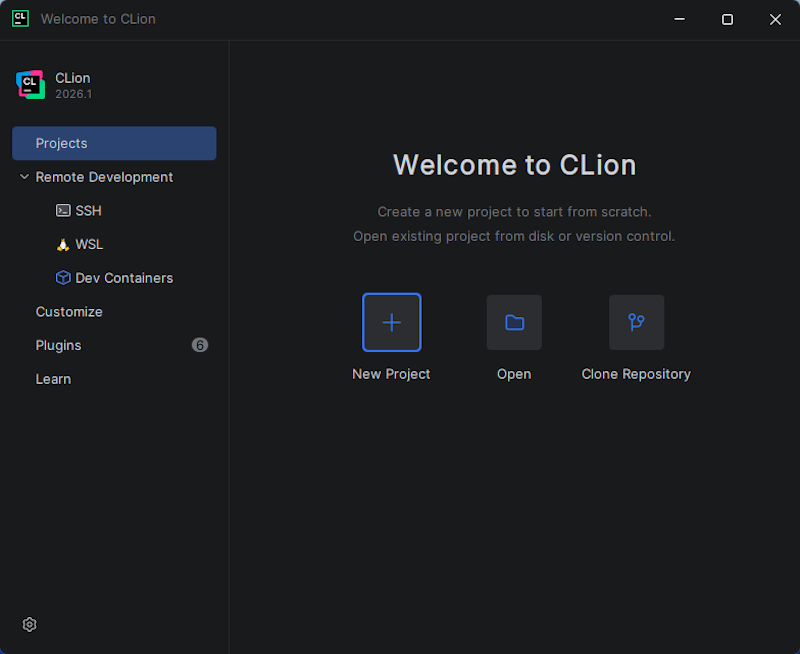
Make sure the “Subscription” radio button is selected and click the “Log In to JetBrains Account” button, input your JetBrains account information in the web browser that appears, and then click Activate back in the CLion application. Finally, click “Close” to finish the activation of the CLion IDE. You should see a “Welcome to CLion” window similar to the image below.
If on macOS, continue to: Install YCPCS Marmoset Plugin
If on a Windows 11, continue to: Configure CLion IDE
