Learning goals
- Animate elements of an image by varying their positions, sizes, and/or colors over time
What to do
Part 1: Import the example sketch
Download the following zip file and save it in your Downloads folder: Animation.zip.
Start a file browser window and navigate to your Downloads folder. Right click on Animation.zip. Choose Extract All, then choose H:\My Documents\Processing as the destination directory.
In Processing, choose File → Open. In the file chooser dialog, navigate to the H:\My Documents\Processing folder, then double click on Animation, then choose Animation.pde. You should now have a Processing window with the source code of the example sketch.
Click the run button, which looks like this:

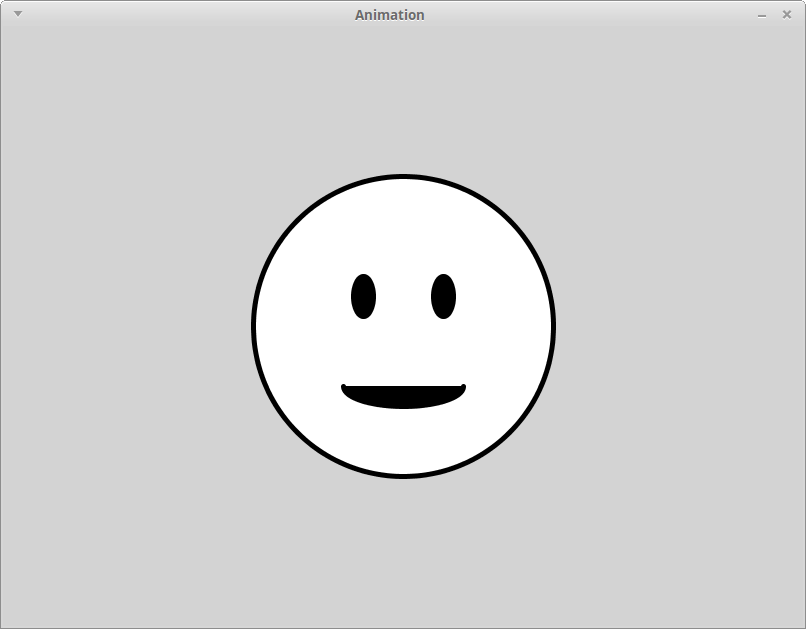
When the sketch runs, you should see the following (click for full size):
Part 2: Animation basics
Ok, this initial version of the sketch isn’t an animation: nothing moves! Let’s fix that.
We’ll start by observing that there are some variables defined just before the setup function:
// Variables to control where the smiley face appears
int x, y;
int dx, dy;
float theta;
Because these variables aren’t defined inside a function, these variables can be used by any function in the program.
Also note the code in the draw function that calls the drawSmiley function:
drawSmiley(x, y);What is happening is that the center of the smiley face will be positioned so that its center is at the coordinates stored in the x and y variables. But hang on, it looks like the smiley face is positioned in the middle of the window. Where are the values of x and y coming from?
The answer is that the initial values of x and y are assigned in the setup function:
// Provide initial values for the animation variables.
x = 400;
y = 300;
dx = 1;
dy = 1;
theta = 0;
Now for the fun part. Find the comment in the draw function that reads
// TODO: change the animation variables!Change it to
// TODO: change the animation variables!
x = x + 1;
Run the sketch again. What do you see? (Click here to see.)
So, what just happened?
This lab’s sketch makes a couple of important changes compared to the one from Lab 2. Its setup function no longer uses the noLoop command, which means the sketch’s draw function will be executed 60 times per second, rather than only being executed once. The draw function uses the background command to clear the window background, so we get a “clean slate” each time draw is executed. Finally, and most importantly, the code
x = x + 1;increases the value of the x variable each time draw is executed. This makes the smiley face move (slowly) to the right, since in each animation frame, its center is shifted right one unit.
(You may have noticed that from a mathematical standpoint, “x = x + 1” is nonsense. What’s going on is that in Processing, the = symbol means “change the value of the variable on the left,” not “is equal to.” So, the full meaning of “x = x + 1” is “add one to the current value of x, then change the value of x to the result of the addition.”)
Part 3: Things to try
By changing the way that the animation variables are updated in the draw function, we can achieve different effects. Here are some to try. Try to guess what happens for each one. (You can click the “See it” links to find out, or run it yourself.)
First version (See it):
// TODO: change the animation variables!
x = x - 1;
Second verion (See it):
// TODO: change the animation variables!
x = x + 1;
y = y + 1;
Third version (See it):
// TODO: change the animation variables!
if (x < 150 || x > 650) {
  dx = dx * -1;
}
if (y < 150 || y > 450) {
  dy = dy * -1;
}
x = x + dx;
y = y + dy;
(See if you can figure out how this one works. Note that in Processing, “||” means “or”.)
Fourth version (See it):
// TODO: change the animation variables!
theta = theta + 0.02;
x = int(400 + sin(theta) * 150);
y = int(300 + cos(theta) * 150);
(You might need to recall your high school trigonometry for this one! Note that this last one is a bit different than the others because the theta variable is changing each time draw is executed, and x and y are recomputed based on the current value of theta.)
Part 4: Animation in your own sketch
We’ve just scatched the surface of animations in Processing, but hopefully this lab gives you some ideas.
At this point, try adding animation variables to the Processing sketch you’re working on for Assignment 2, and using them to change the position and/or size of the figure drawn by the drawing function you added to your sketch in Lab 2.
Note that you will need to make some changes to your sketch:
- Remove the use of the
noLoopcommand from yoursetupfunction - Move the
backgroundcommand from yoursetupfunction to the beginning of yourdrawfunction
In addition, you can change the default frame rate (60 frames per second) by using the frameRate command. For example, if you want the frame rate to be 30 frames per second, use the command
frameRate(30);in the setup function.
